Skip to content
website new logo

OptimScan Q Series

High-Precision 3D Inspection Scanners

  • Dual Scan Range
  • Monocular-Stereo Fusion (MSF)
  • Multiple Exposure
  • Single Shot < 1 s

Key Features

OptimScan Q12 Reliable High Performance

Reliable High Performance

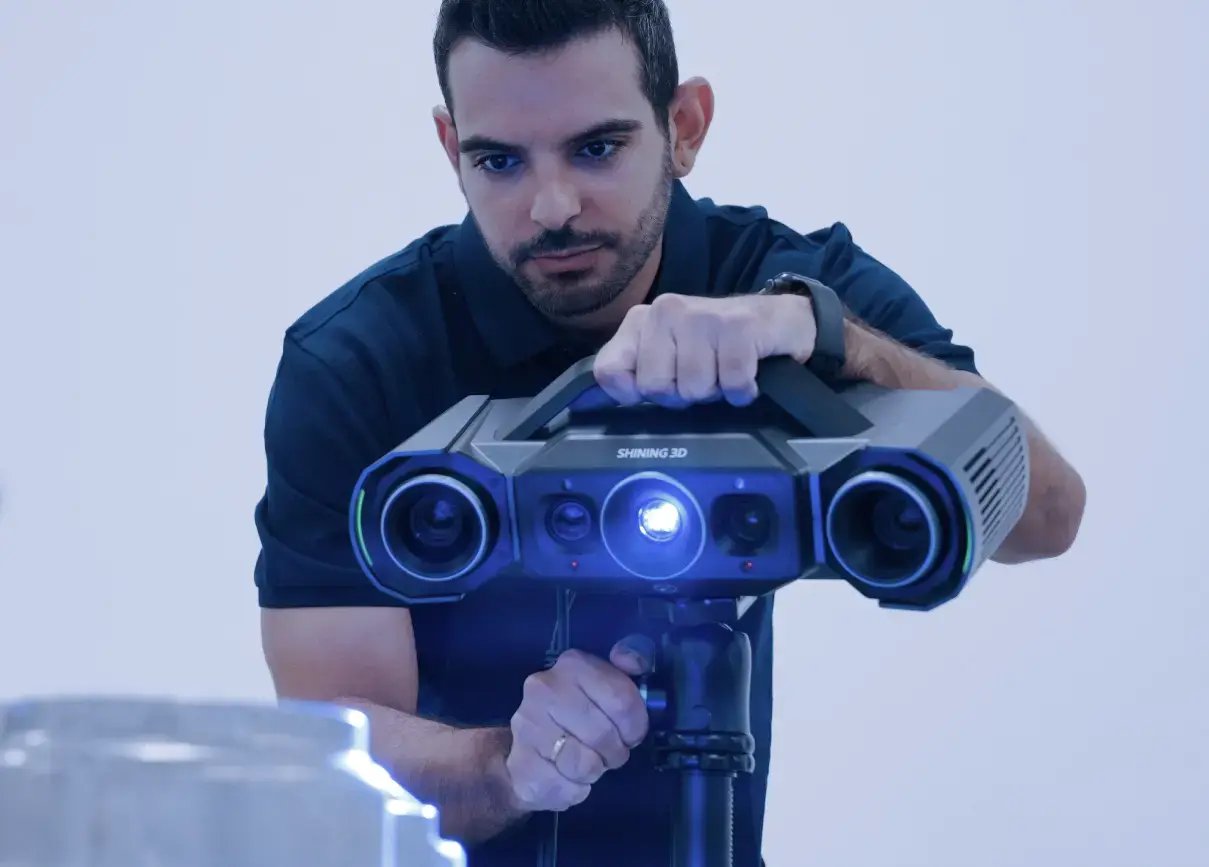
Equipped with four high-resolution cameras, OptimScan Q systems can accurately capture geometrically intricate features on an object's surface.
Combined with powerful hardware modules and advanced 3D reconstruction algorithms, the systems deliver an impressive accuracy of 0.005 mm, which has been verified in accordance with ISO 10360-13, ensuring stable and reliable repeatability across a wide range of applications.
 
OptimScan Q12 Dual Scan Range, Easy to Operate

Dual Scan Range,
Easy to Operate

OptimScan Q series features two scan ranges that can be switched with a single click, eliminating manual adjustment of aperture and focal length.

  • Large range: 430 × 300 mm
  • Small range: 160 ×110 mm

Scanned data from different ranges can be seamlessly fused in the software, ensuring both efficiency and detail.

Monocular-Stereo Fusion (MSF)

Monocular-Stereo Fusion (MSF)

The monocular-stereo fusion function can effectively increase data coverage and improve the integrity of the scanned data, such as the common turning corners and joints of industrial parts.

Multiple Exposure, Faster Scanning

Multiple Exposure, Faster Scanning

Powered by a built-in dual-chip computing module, OptimScan Q series delivers rapid image acquisition and efficient data processing. Each shot takes less than 1 second, capturing a dense set of high-resolution data points with exceptional precision.

To further streamline the workflow, the systems support multiple exposure modes—including intelligent automatic exposure—significantly reducing scanning time while ensuring optimal results across a wide range of surface conditions.


Versatile and Highly Adaptable

Versatile and Highly Adaptable

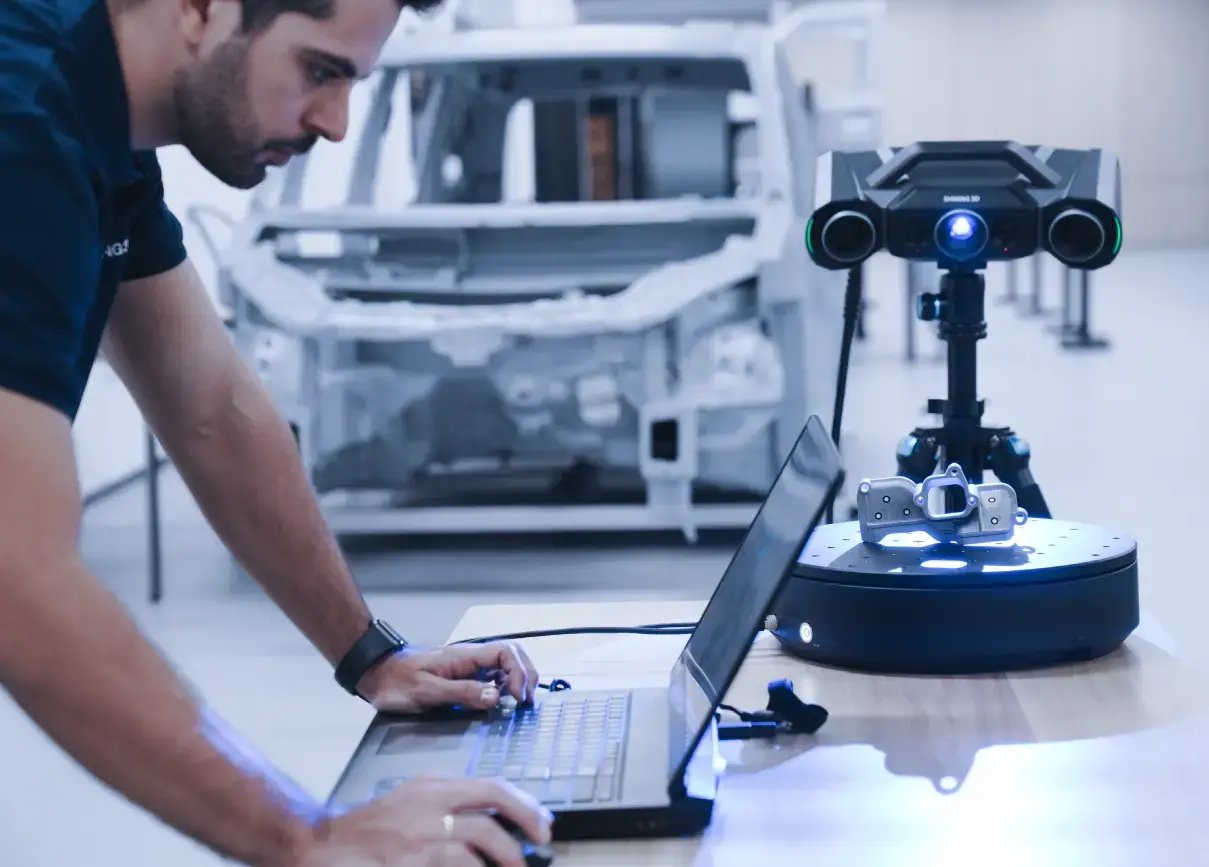
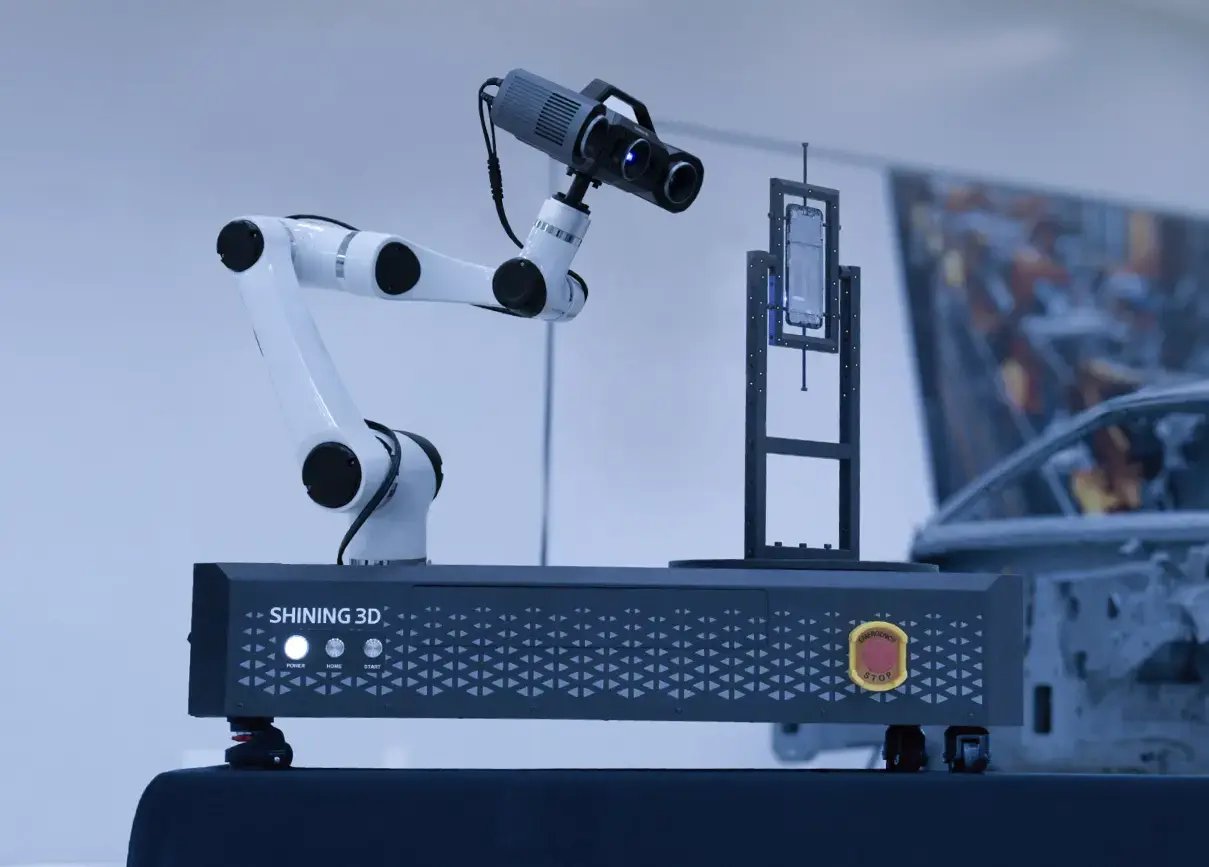
OptimScan Q systems is compact and easy to carry, offering flexible manual scanning. For semi-automated operation, it pairs with a fixed tripod and an automatic turntable with up to 20 kg load, providing increased efficiency and consistency in scanning. In fully automated mode, it integrates with a robot for precise, repetitive inspection tasks.

Automatic Dual-Axis Turntable

Automatic Dual-Axis Turntable (Optional)

Designed to work seamlessly with high-precision 3D inspection systems, the automatic dual-axis turntable (up to 3 kg load) enables multi-angle automated scanning with a single click within the scanning software.

Automated Inspection Solution

Automated Inspection Solution

OptimScan Q series can seamlessly integrates with intelligent 3D inspection system, enabling fully automated workflow from scanning to report generation.

Workflow:

1. Path Teaching

2. Automated 3D Measurement

3. Automated 3D Inspection

4. Automated Report Generation


custom support for your needs1

Our Support Coverage

At SHINING 3D, we don’t just provide devices – we deliver customized solutions, global support, and a commitment to your success. From intuitive tools to calibrated accuracy, we’re here to empower your work.

INSPECT ON THE MOVE

SHINING 3D METROLOGY (RGB)-反白2


SHINING 3D Metrology brings precision measurement from isolated labs directly to the shop floor and beyond, enabling real-time quality assurance across every stage of production. 

Discover Our 3D Metrology Portfolio → 


Technical Data

  • Product Type OptimScan Q12, OptimScan Q9
  • FOV Large range: 430 × 300 mm,
    Small range: 160 × 110 mm
  • Accuracy Large range: 0.015 mm,
    Small range: 0.005 mm
  • Point distance OptimScan Q12: Large range: 0.1 mm,
    Small range: 0.04 mm
    OptimScan Q9: Large range: 0.11 mm,
    Small range: 0.05 mm
  • Working distance Large range: 590 mm,
    Small range: 210 mm
  • Depth of field Large range: 300 mm,
    Small range: 60 mm
  • Resolution OptimScan Q12: 4 × 12.3MP
    OptimScan Q9: 4 × 9MP
  • Light Source Blue LED
  • Weight 3.5 kg
  • Dimensions 366 × 162 × 132 mm
  • Data Cable Length 5 m
  • Certifications CE, FCC, ROHS, WEEE, KC, FDA,
    UKCA, IP50, TELEC, TiSAX
  • Acceptance test ISO 10360 - 13 (certified in ISO 17025 certificated accuracy lab)

Our Expertise, Your Advantage

20

years experience

400

authorized patents

200

3D scanners sold worldwide


Frequently Asked Questions

  • Is it possible to scan color texture of objects?

    No. OptimScan Q series doesn't have a color camera to capture the texture information of object.

  • Are markers required during scanning with Optimscan Q series?

    OptimScan Q series supports markerless scanning. For higher accuracy requirements, it can recognize 1mm, 2mm, or 4mm non-reflective markers.

  • What size of objects can OptimScan Q series scan?

    We recommend using OptimScan Q series for small to medium-sized objects in high-precision application scenarios such as automotive, electronic, mold manufacturing and so on.

  • How to perform inspection with OptimScan Q series?

    OptimScan Q series software can be integrated with SHINING3D Inspect module, offering comprehensive functionalities such as Compare, Cross-Section, Feature, Dimension, Gauges, Report, and Quick Measurement, enabling diverse inspection requirements.

Trusted Worldwide

Let's explore why SHINING 3D is the go-to choice for experts across various industries.

  • Cultural Creation & Art Customization

    Digitizing Cultural Heritage: Using...

    Learn More