


Tips tricks
Updated on Jul. 24th 2026
Practical Automotive 3D Scanning Tips for Better Results
Learn practical automotive 3D scanning tips to improve scan accuracy, optimize workflows, and capture high-quality data for reverse engineering, inspection, and vehicle restoration.
Automotive 3D scanning plays an increasingly important role in vehicle restoration, reverse engineering, quality inspection, and custom modification. Whether you're digitizing a complete vehicle, body panels, or mechanical components, achieving accurate scan data depends not only on the scanner itself but also on proper preparation and scanning techniques.
Based on practical automotive scanning experience, here are some proven tips to help improve scan quality and workflow efficiency.
Use Markers Strategically
Markers are essential when scanning large vehicles or components with limited geometric features. Proper marker placement helps the scanner maintain tracking stability and improves overall scan accuracy.
For best results:
-
Distribute markers randomly instead of placing them in straight rows or regular patterns.
-
Maintain sufficient marker density throughout the scanning area.
-
Ensure multiple markers remain visible during scanning to avoid tracking loss.
-
When scanning an entire vehicle, divide the project into overlapping sections to simplify data alignment.
Thoughtful marker placement can significantly reduce rescanning time while improving data consistency.
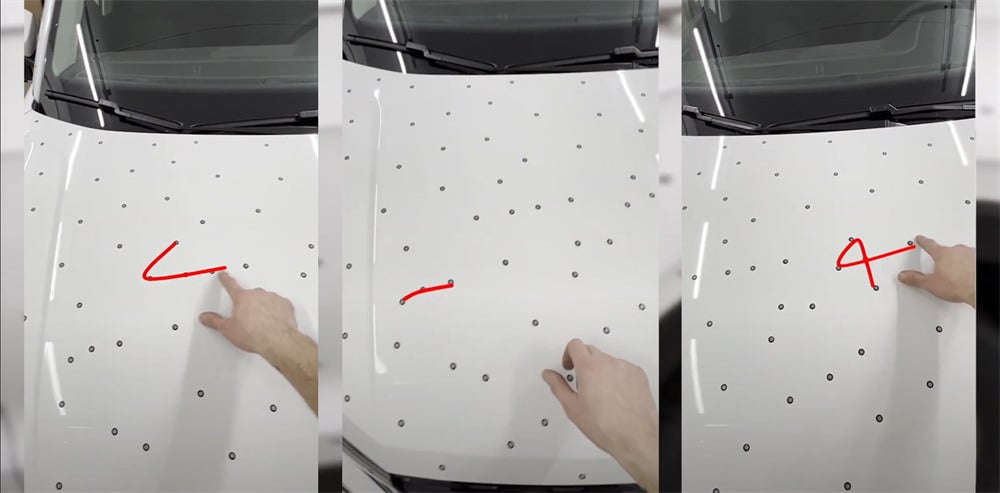 Stick markers on the car irregularly
For large automotive projects, repeatedly applying and removing adhesive markers can be both time-consuming and labor-intensive. Marker pyramids provide an efficient alternative by elevating reference markers above the vehicle surface, allowing the scanner to maintain tracking while reducing the number of adhesive targets required.
Marker pyramids are particularly useful when scanning large body panels or complete vehicles, helping improve workflow efficiency while minimizing preparation time.
*You may download files of pyramids here.
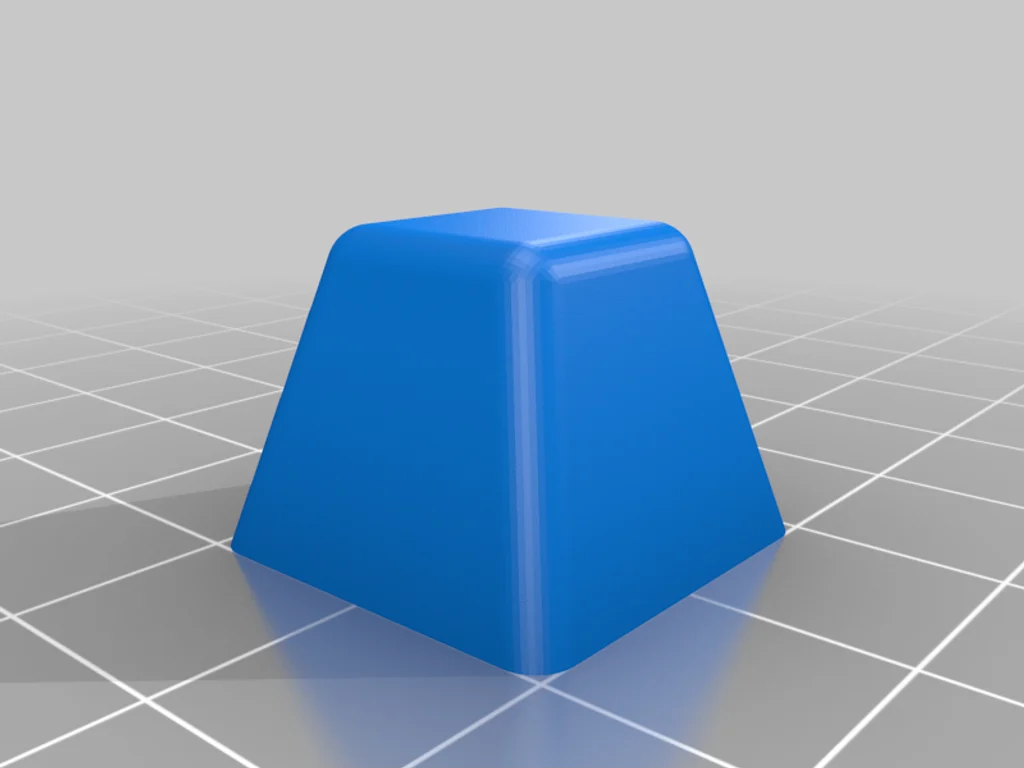 Marker pyramids
Consider Tracking-Based 3D Scanners
Advances in optical tracking technology have further simplified automotive 3D scanning workflows. Tracking-based handheld 3D scanners use an external optical tracking system to continuously determine the scanner's position, greatly reducing reliance on surface geometry or adhesive markers for positioning.
In many automotive applications, this enables users to scan large vehicles with little or no marker preparation, significantly shortening setup time while maintaining stable data acquisition. This approach is especially valuable for full-vehicle scanning, vehicle restoration, and large-scale reverse engineering projects where applying hundreds of markers would otherwise be required.
However, depending on the scanning environment, object geometry, and workflow requirements, markers may still be beneficial in certain situations to ensure optimal tracking performance.
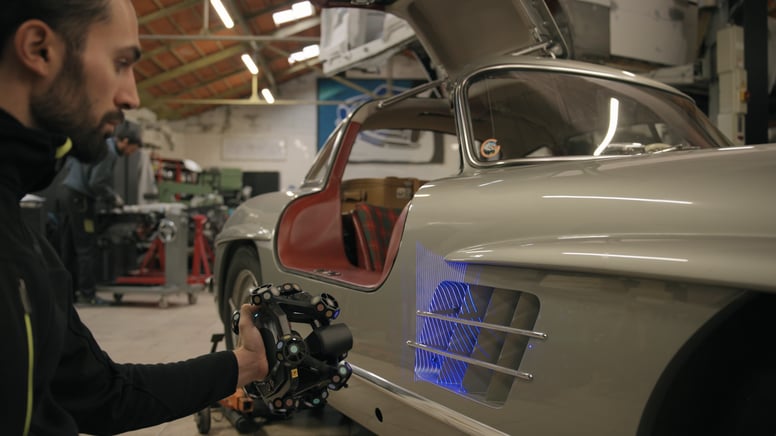 FreeScan Trak Nova dynamic tracking system
Discover the product you're looking for
- Full specifications
- Using scenarios
- Key features
- Even comes with a bundle!
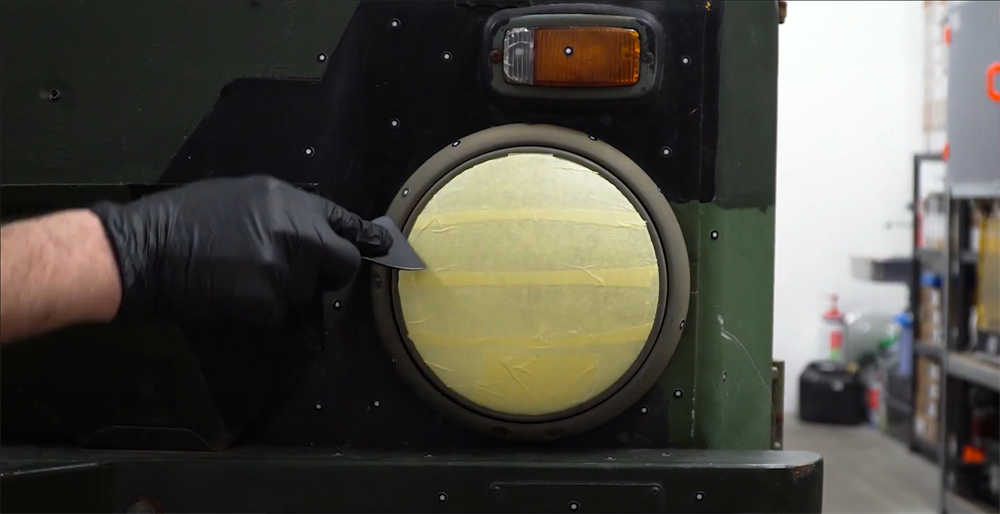 Use tape to cover the surface of the headlights
 Display of 3D scanning data after using tape
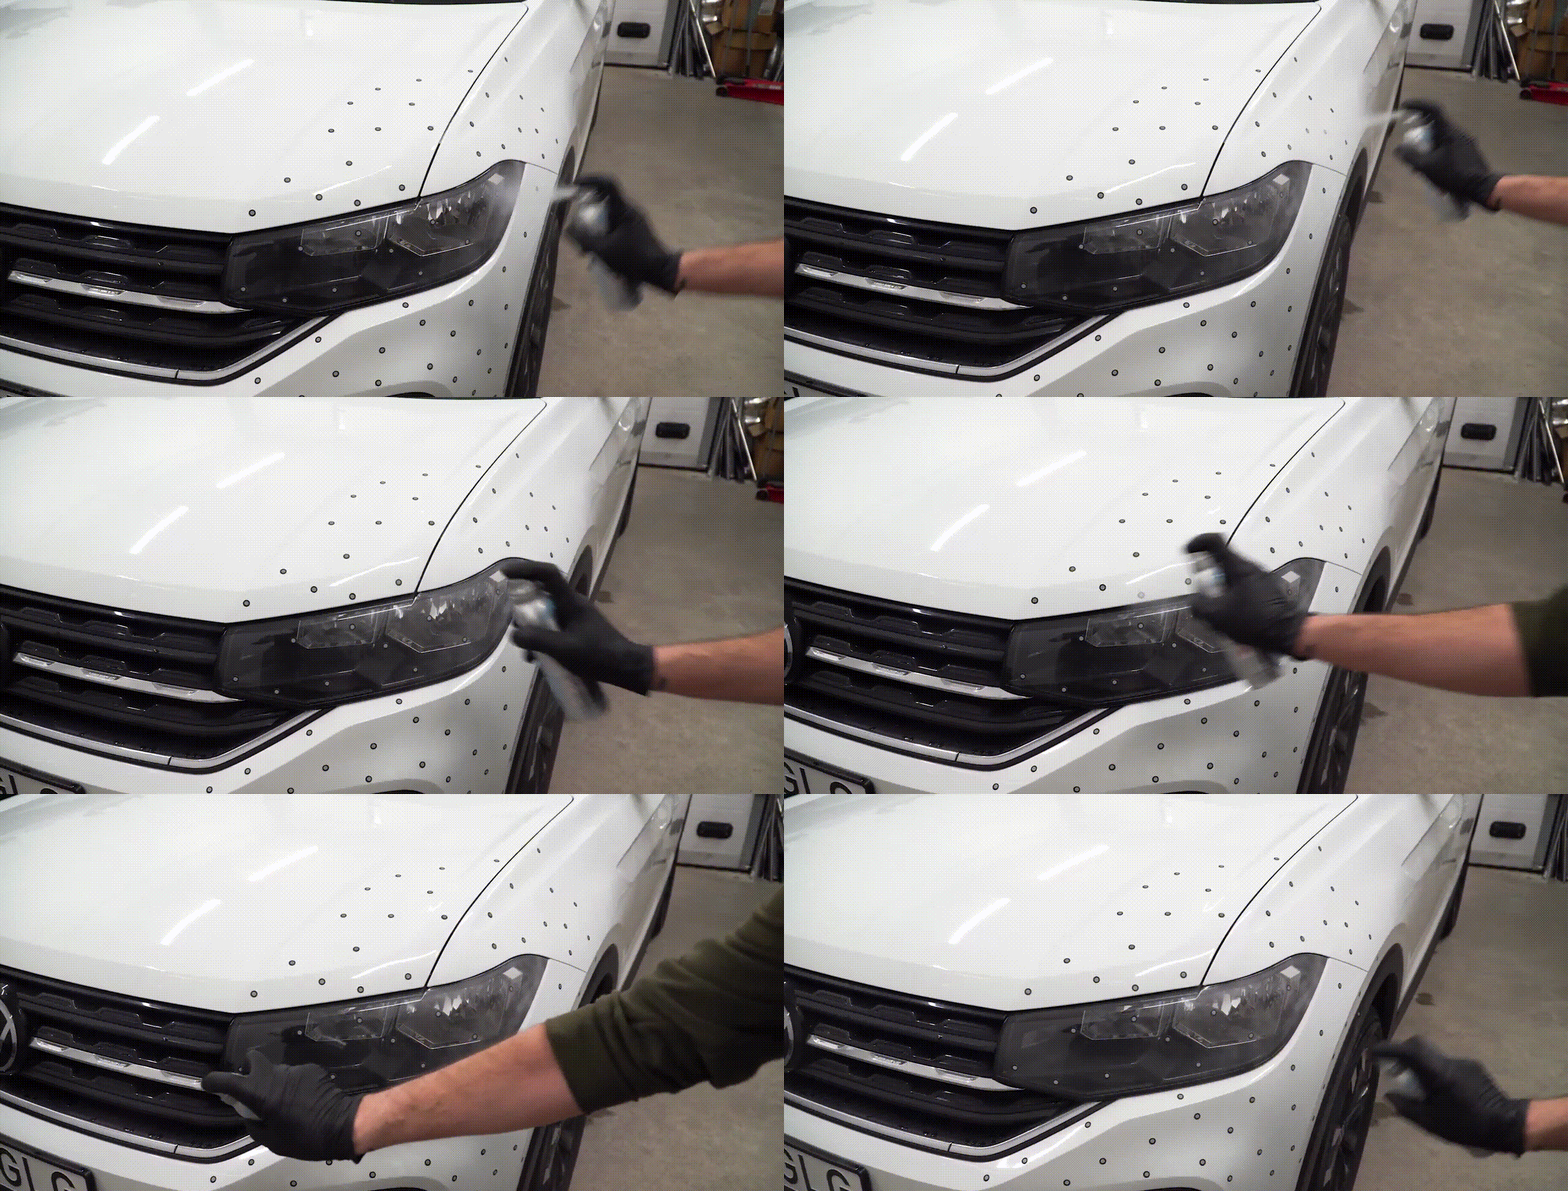 Use spray to assist with 3D scanning
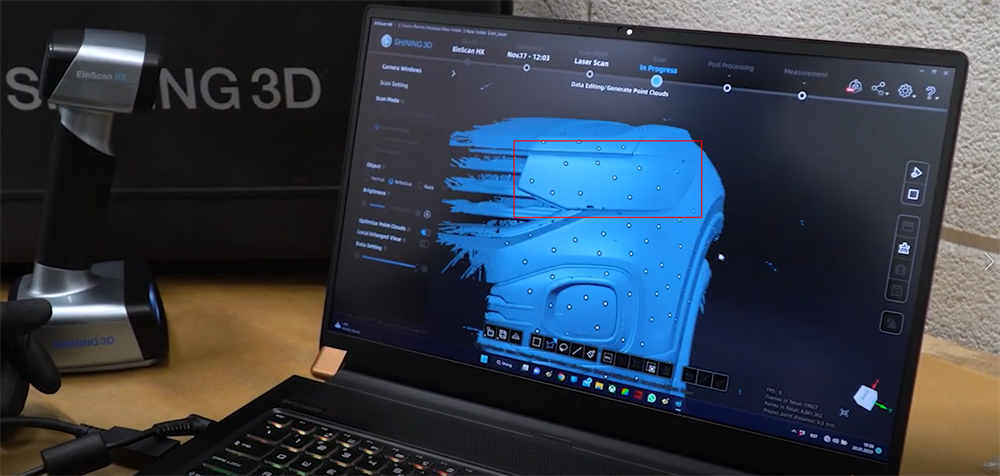 Display of 3D scanning data after using spray
Optimize Lighting Conditions
Consistent lighting helps improve data capture and reduces unnecessary noise during scanning.
Recommended practices include:
-
Avoid direct sunlight whenever possible.
-
Maintain stable indoor lighting throughout the project.
-
Reduce harsh shadows and strong reflections.
-
Keep lighting conditions consistent while moving around the vehicle.
Although modern 3D scanners are designed to operate in various environments, stable lighting can improve both scanning efficiency and final data quality.
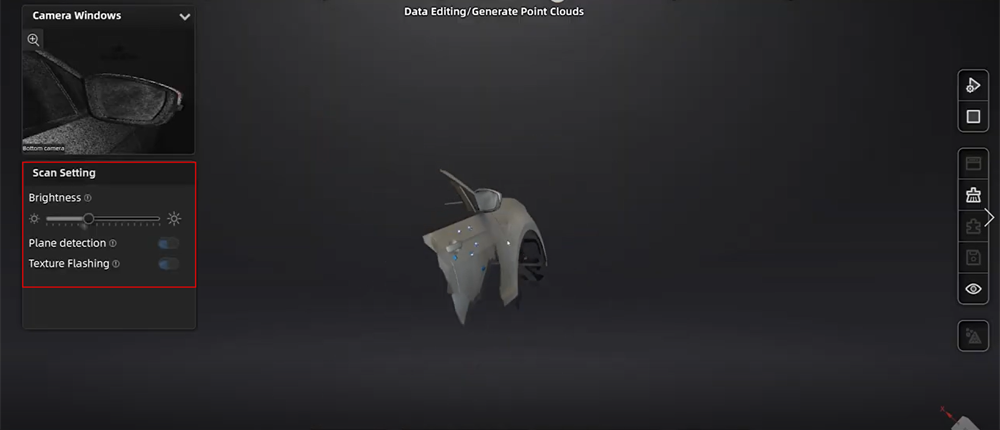 Set the brightness on scanning software
Choosing the Right 3D Scanner for Automotive Projects
No single 3D scanner is ideal for every automotive application. The best solution depends on the size of the part, the required accuracy, the material being scanned, and the downstream workflow. Selecting the right technology can significantly improve efficiency, reduce preparation time, and deliver better results across the entire product lifecycle.
To learn how 3D scanning is applied throughout the automotive product lifecycle—including vehicle development, manufacturing, quality inspection, restoration, and aftermarket customization—visit our comprehensive Automotive Industry Solutions page.
Share on Social Media


