Case Studies
Published on Feb. 5th 2026
How Pine-Pacific Cut 3D Inspection Time by 60% with Wireless 3D Scanning
Discover how Pine-Pacific improved inspection efficiency by 60% using wireless 3D scanning. Learn how faster, high-accuracy inspection streamlined quality control and CAD/CAM workflows.
Background: High-Precision Manufacturing with Strict Inspection Requirements
Pine-Pacific is a professional manufacturer of industrial machinery, specializing in high-precision moulds and customized industrial equipment. The company serves both domestic and international customers, with all products designed and delivered in full compliance with international standards.

Pine-Pacific
To ensure manufacturing accuracy, Pine-Pacific relies heavily on CAD/CAM systems, combining engineering expertise with 3D simulation to create designs that are not only precise but also feasible for real-world production. Each solution is tailored to the specific application requirements of the industries they serve, making inspection accuracy a critical part of their workflow.
The Challenge: Time-Consuming Traditional Inspection Methods
Before adopting 3D scanning technology, Pine-Pacific primarily used traditional inspection methods, including Coordinate Measuring Machines (CMMs) and Conventional manual measuring tools. These methods were extremely time-consuming. Measuring a single workpiece could take 30 to 45 minutes, depending on part complexity. This created several challenges:
-
Long inspection cycles slowed overall production
-
Bottlenecks in quality control for complex parts
-
Limited flexibility when handling customized or reverse-engineered components
 Manual Measurement using caliper
The Solution: SHINING 3D FreeScan Trak ProW
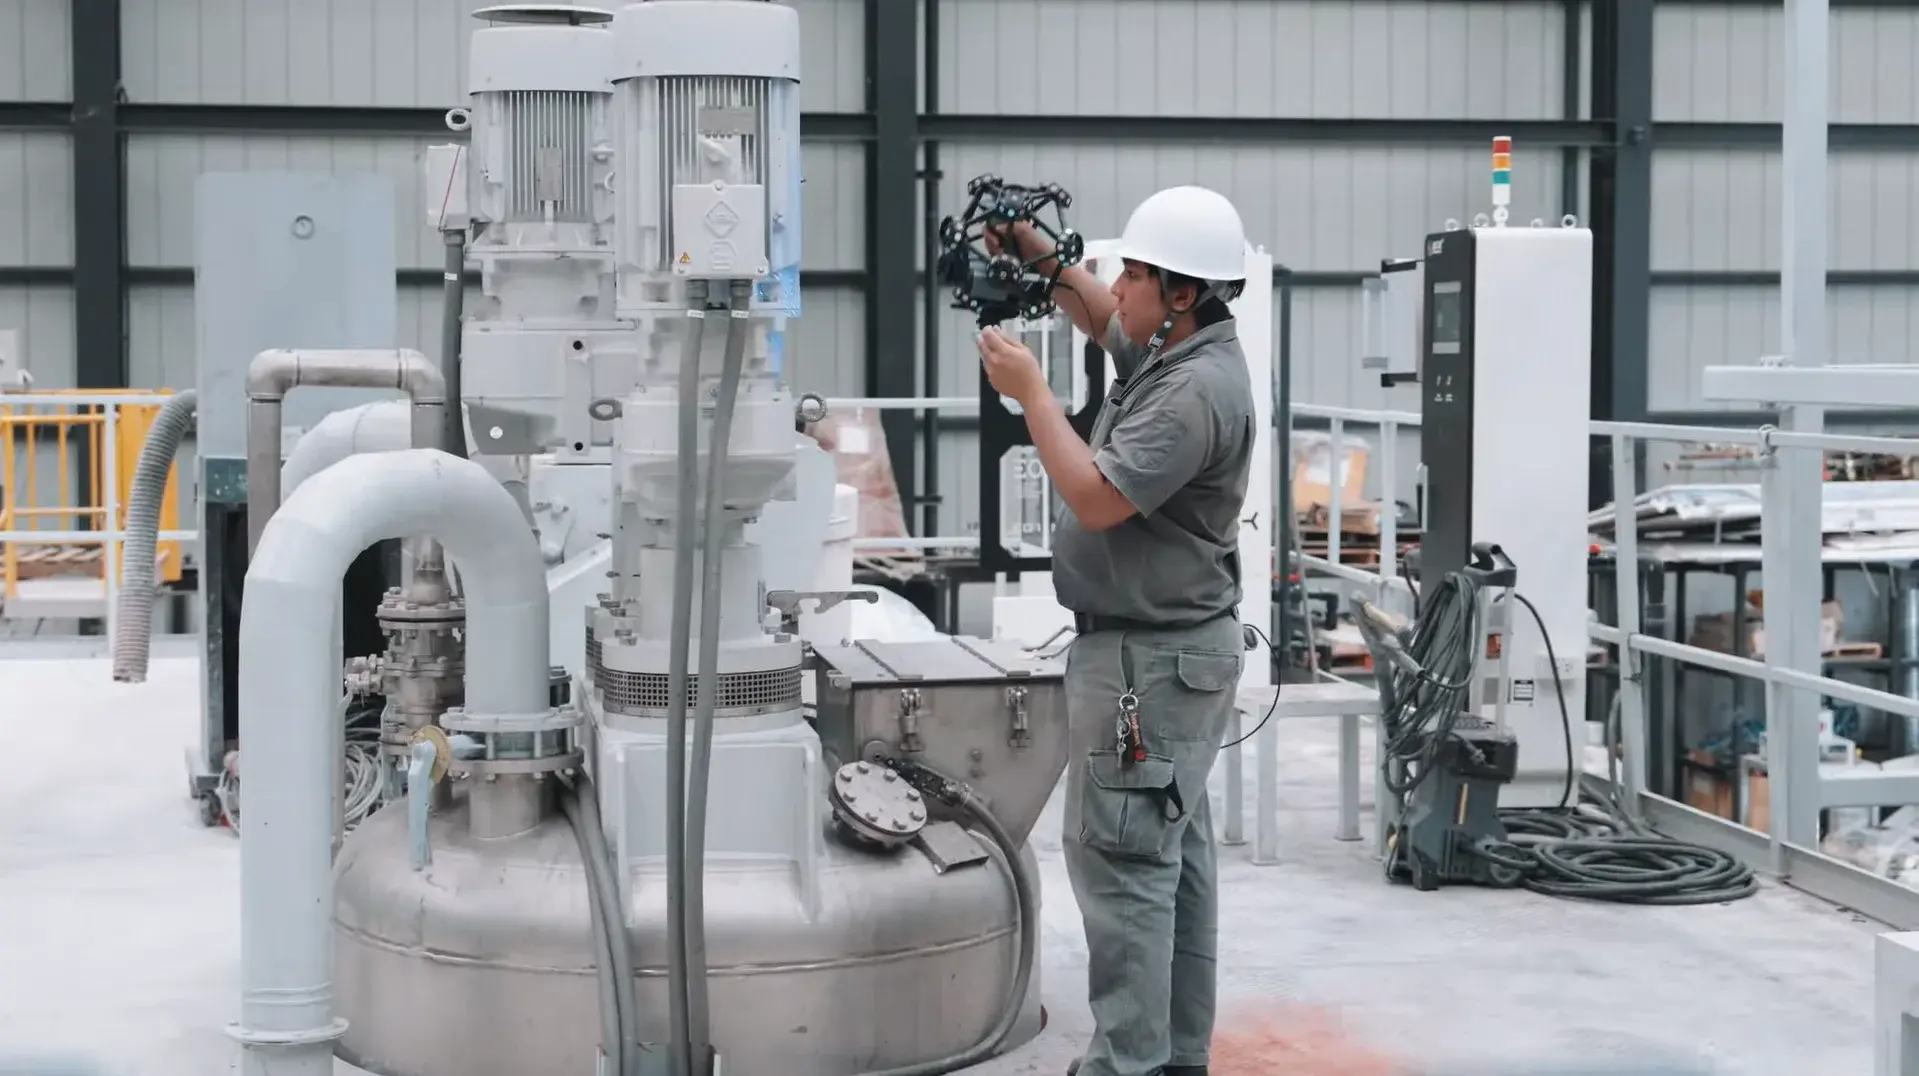
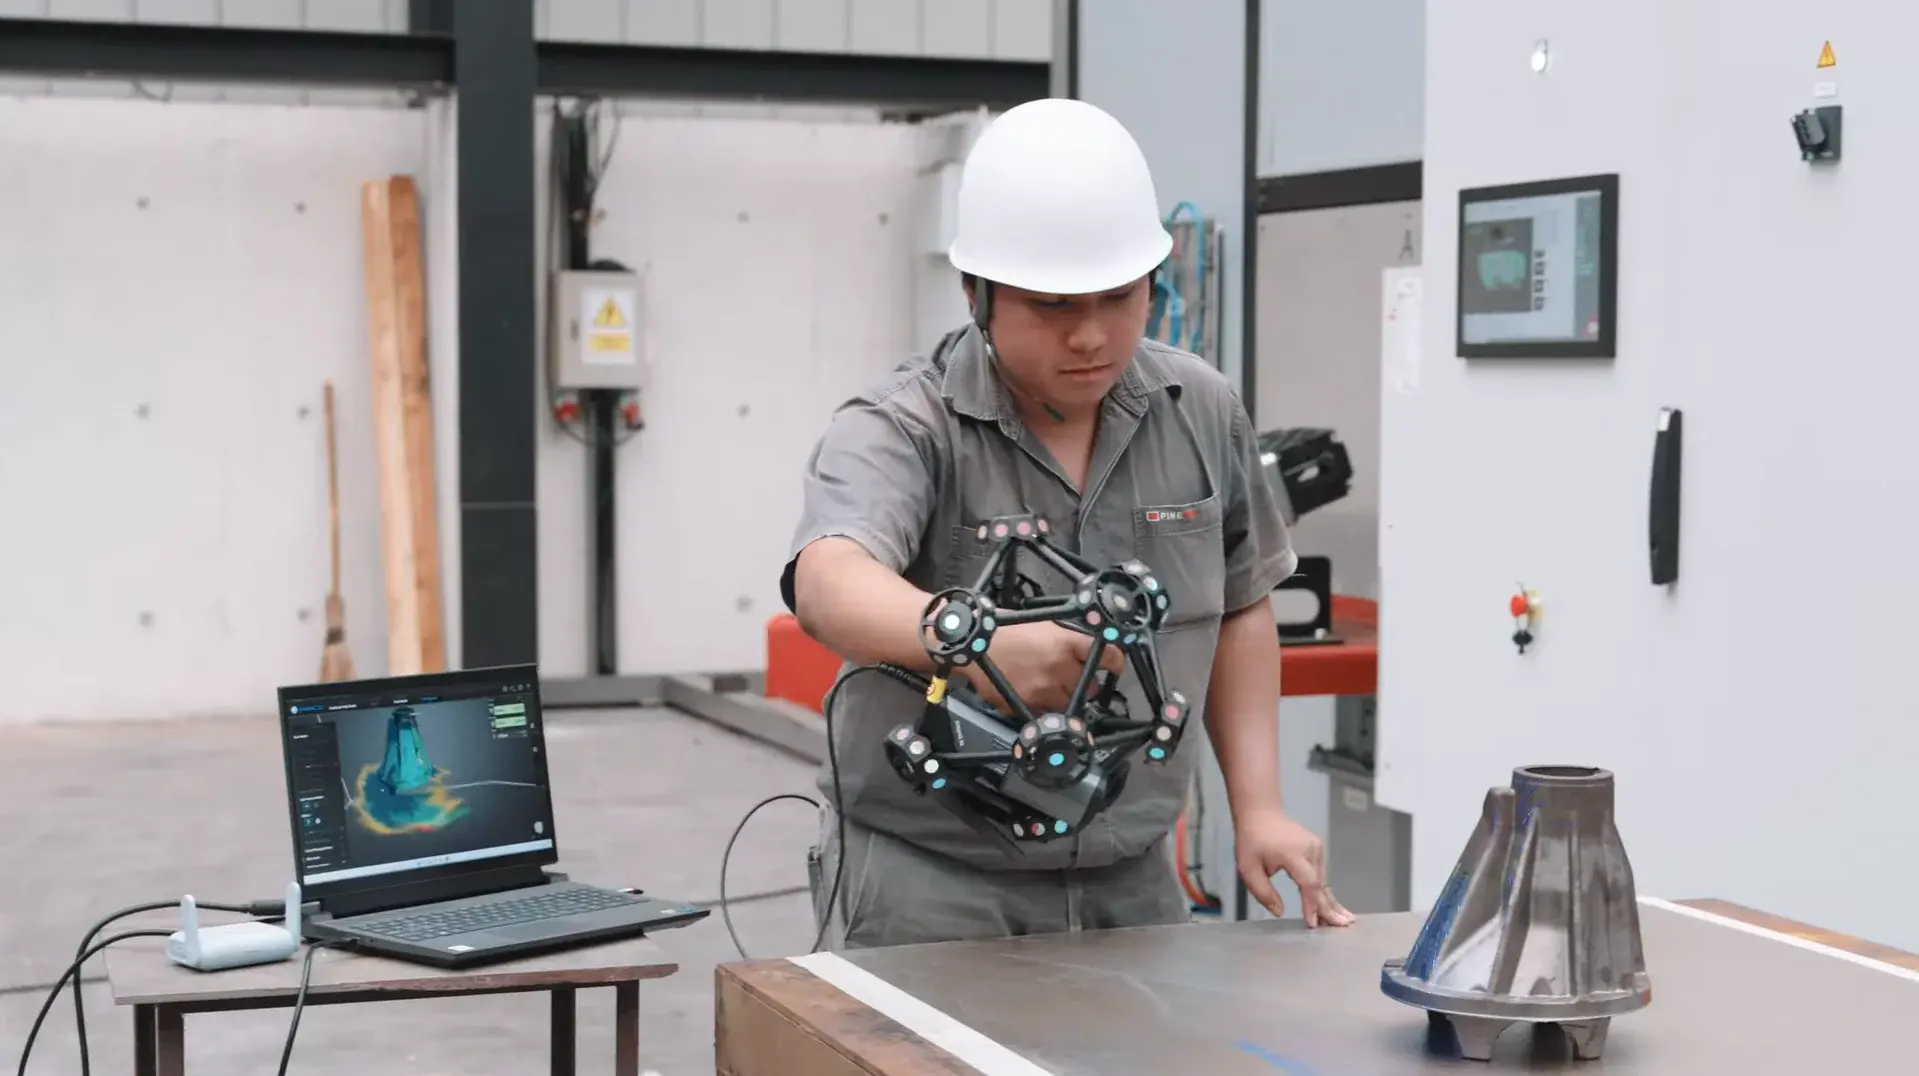
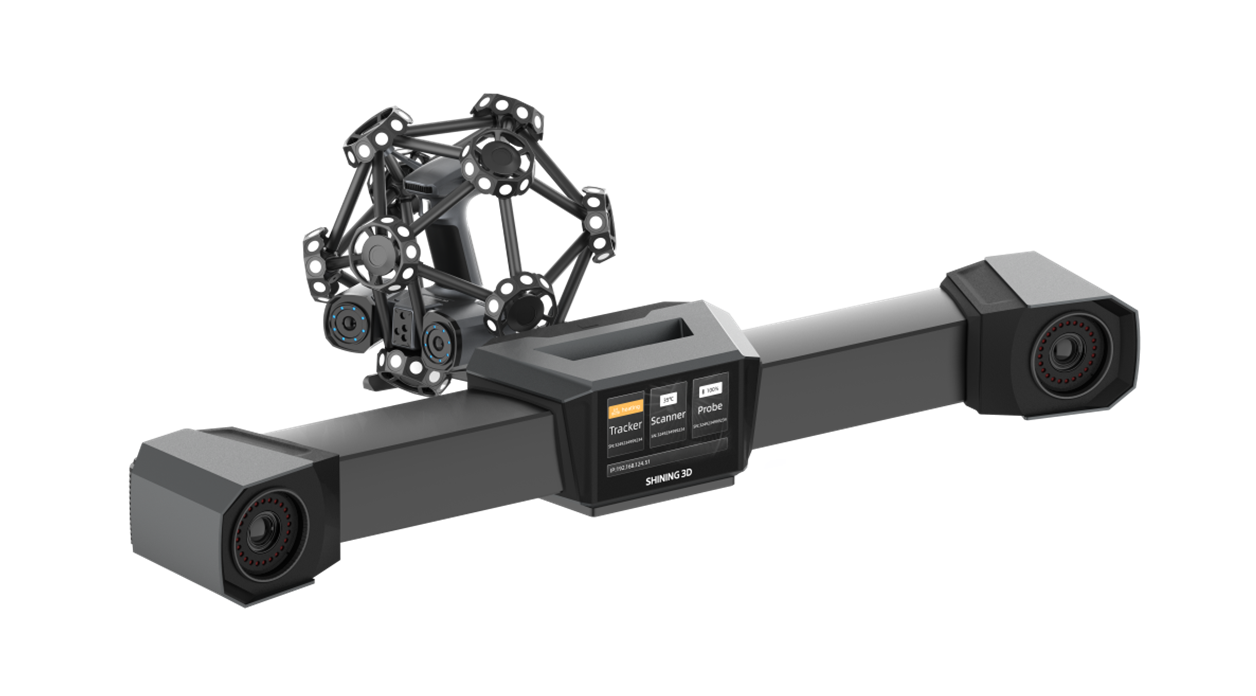
To overcome these challenges, Pine-Pacific adopted the SHINING 3D FreeScan Trak ProW, a wireless optical 3D scanning system supplied by partner Metro System.
Key advantages of the solution include:
-
Marker-free scanning, eliminating preparation time
-
Wireless operation, improving flexibility on the shop floor
-
High-resolution data with up to 0.023 accuracy
-
Fast data capture suitable for complex and large workpieces


Unlike traditional methods, the FreeScan Trak ProW enables rapid, non-contact measurement without compromising precision.
The Results: 60% Reduction in 3D Inspection Time
After implementing the SHINING 3D solution, Pine-Pacific achieved significant improvements:
-
Inspection time reduced from 30–45 minutes to just 10–15 minutes per part
-
Overall 3D inspection efficiency improved by approximately 60%
-
Faster turnaround enabled smoother project delivery and increased confidence
-
The high-quality scan data integrates seamlessly with CAD/CAM workflows, supporting reverse engineering, quality inspection, and design validation.
By introducing the FreeScan Trak ProW, Pine-Pacific did more than shorten inspection cycles. It redefined how precision inspection fits into its overall manufacturing process. When working with complex geometries and customized parts, the team can now meet both accuracy and lead-time requirements with greater confidence, laying a solid foundation for continued process optimization and future growth.

FreeScan Trak ProW
- Marker-Free & Wireless Scanning
- Max. 8.6 m Tracking Distance & 206.7 m³ Tracking Volume
- Integrated Video Photogrammetry (VPG)
- Compatible with FreeProbe (Optional)

