PR/News
Published on Jul. 14th 2024
Ensuring Accuracy in 3D Scanning: Calibration Techniques and Accuracy Standards at SHINING 3D
In this article, you will gain:
1.What is accuracy?
2.How does SHINING 3D calibrate its scanner?
3.How does SHINING 3D guarantee the accuracy?
In the field of 3D scanning, accuracy isn't just a nice-to-have. It's the cornerstone of reliability and trustworthiness in scanned data. Imagine a world where every dimension, contour, detail captured by a 3D scanner faithfully represents reality.
In this article, you will gain:
- What is accuracy?
- How does SHINING 3D calibrate its scanner?
- How does SHINING 3D guarantee the accuracy?
Understanding Accuracy in 3D Scanning
Accuracy in 3D scanning is a critical parameter that determines the reliability and fidelity of the scanned data. Accuracy refers to the closeness between a measured value and its true value. To understand accuracy more deeply, it is also necessary to understand two closely related concepts: trueness and precision.
Trueness refers to the closeness between the average value obtained from an infinite number of repeated measurements and a reference value. Think of it as how accurate your measurements are on average.
Precision refers to the closeness among repeated measurements of the same or similar object under specified conditions. It's about consistency and reliability of the measurements, not necessarily about being close to the true value. If a scanner is high precision, it means that repeated measurements under the same conditions will yield similar results.
While trueness and precision help us understand different facets of accuracy, ensuring that these measurements are reliable and standardized brings us to the concept of accuracy traceability.
Calibrating SHINING 3D Scanner Accuracy
Accuracy traceability means that the laboratory calibrates the 3D scanner in accordance with the calibration specifications, in a stable environment, with accuracy traceable standards. SHINING 3D assesses the accuracy of its 3D scanners using a variety of sophisticated measurement instruments and methods, adhering to the VDI/VDE 2634 part 2 and 3 standards.

How SHINING 3D ensures scanner accuracy
Calibration Workflow
Calibration begins with creating an ideal setting. The SHINING 3D Accuracy Laboratory implements strict temperature, humidity control, and anti-vibration measures. The laboratory maintains a constant temperature of 20±0.5 degrees Celsius throughout the year, with humidity levels kept between 40-60% RH.
SHINING 3D has designed corresponding accuracy calibration devices and processes for various self-produced high-precision 3D scanners in accordance with VDI/VDE 2634 Standards. Take the calibration process of handheld laser scanners as an example:
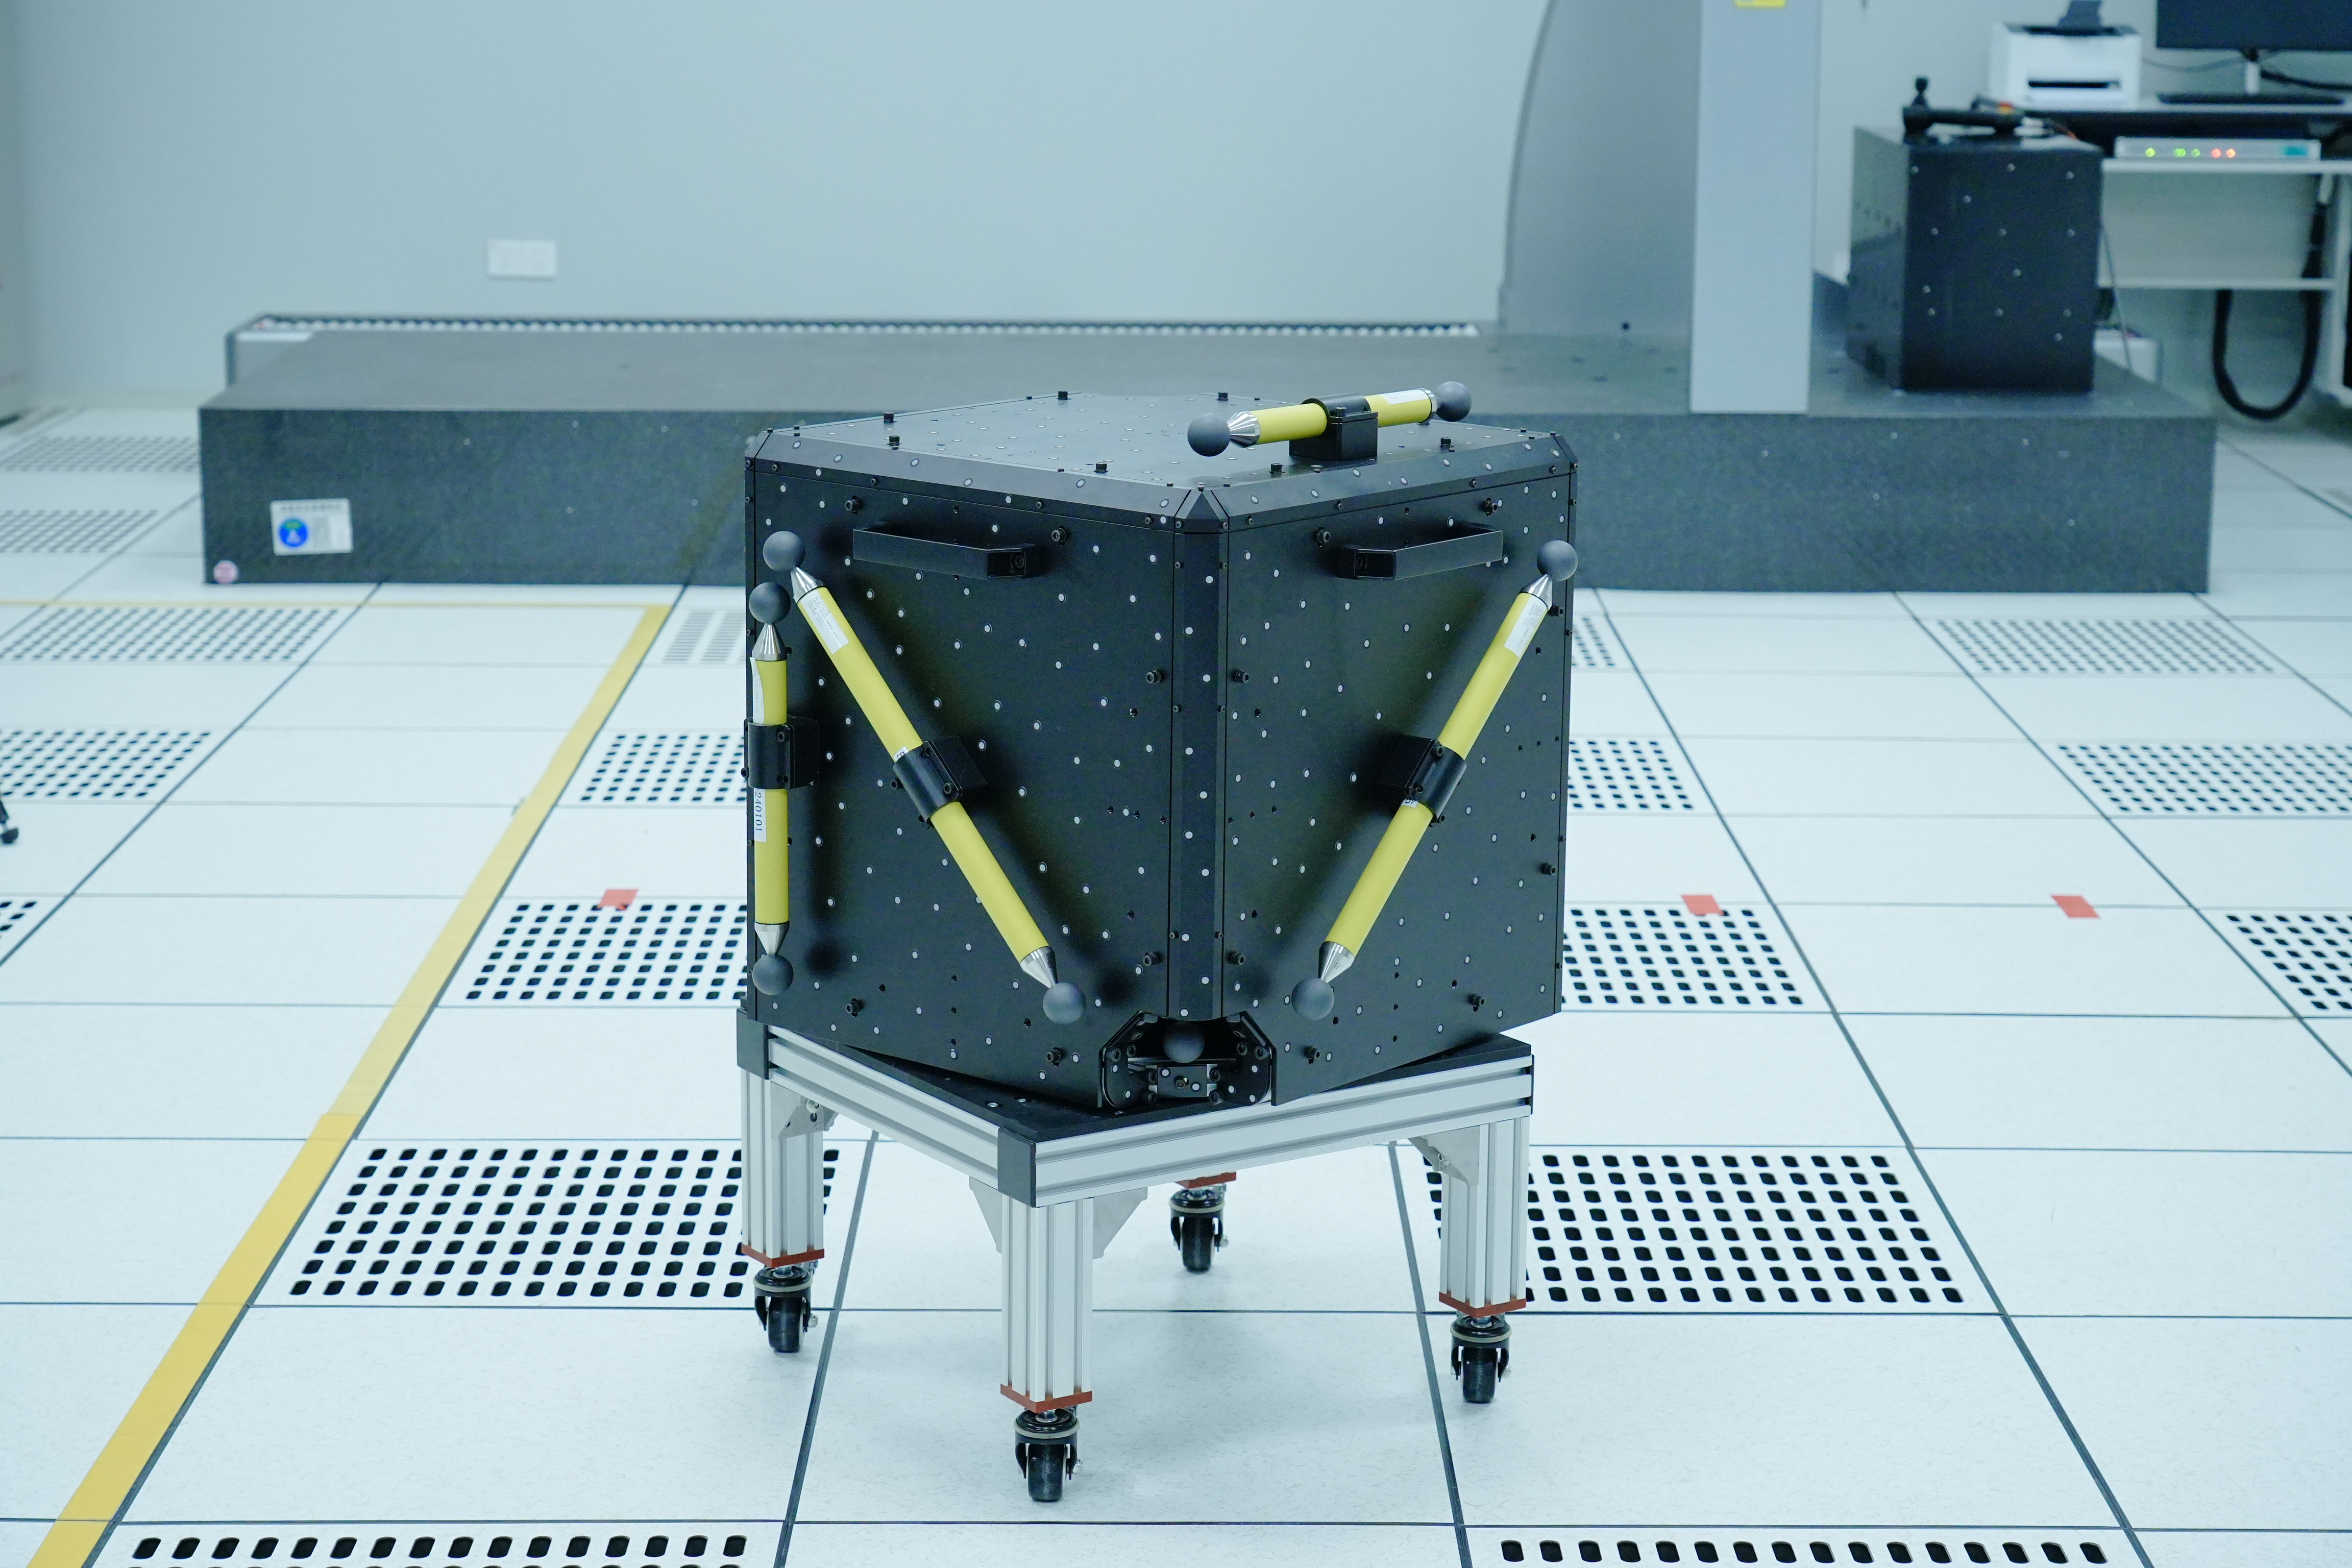
The accuracy of a handheld laser 3D scanner is calibrated by a cube with 7 standard artifacts. The cube is designed and manufactured in-house by SHINING 3D and these 7 artifacts are strictly calibrated by a third party organization.

Standard Artifacts: SHINING 3D designed and manufactured the frame in accordance with the requirements of the VDI/VDE 2634 Part 2 and Part 3 standards for the spatial positions of the 7 artifacts, taking into account the need for automatic robot scanning.
In addition, SHINING 3D's Accuracy Laboratory has a Coordinate measuring machine (CMM) that can also calibrate the artifacts and act as an internal verification.
.png?width=4608&height=3072&name=Coordinate%20measuring%20machine%20(CMM).png)
Coordinate measuring machine (CMM): It measures an object's physical geometrical characteristics by sensing discrete points on its surface with a probe.
So how do you ensure that your CMM are operating accurately? SHINING 3D's Accuracy Laboratory has a laser interferometer that calibrates the CMM by providing high-precision measurements of displacement and positioning errors.

Laser interferometer: it uses the interference of laser beams to measure tiny distances, displacements, or changes in refractive index with high accuracy.
Ensuring Accuracy at SHINING 3D
SHINING 3D has established a CNAS-accredited Accuracy Laboratory. CNAS is recognized internationally through agreements with the International Laboratory Accreditation Cooperation (ILAC). This global acknowledgment means that test results and calibration certificates from CNAS-accredited labs are accepted in many countries and regions..
Read more about calibration and certification system:
Accuracy Certification Pathway: From CNAS Accreditation to VDI/VDE 2634 Calibration Certificate
The Accuracy Laboratory's calibration procedures align closely with professional third-party metrology institutions. All processes strictly follow the VDI/VDE 2634 part 2 and 3 guidelines, including calibration conditions, calibration items/methods, and the handling of calibration results.
Additionally, every handheld metrology 3D scanner complies with VDI/VDE 2634 part 3 standards. This stringent quality control ensures that each scanner meets the highest accuracy standards before reaching the customer.
In closing, SHINING 3D pursues accurate measurement to support precision manufacturing and aid in the high-quality development of the manufacturing industry. Through meticulous calibration using precision instruments and adherence to international standards, SHINING 3D guarantees reliability and trustworthiness in every scanned data delivered to its customers.

