GUIDES/101
Published on Aug. 25th 2025
3D Inspection in Quality Control: Benefits, Workflow, and Industry Use Cases
Discover how 3D inspection improves quality control with higher precision, faster workflows, and full digital traceability. Learn its benefits, step-by-step process, and applications across automotive, electronics, energy, and more manufacturing industries.
Manufacturing today looks very different from what it did decades ago. As production lines become more automated and products more complex, the need for reliable quality control has never been greater. That’s where 3D scanning and inspection step in, they give manufacturers the ability to measure, compare, and improve parts with a level of detail that older methods simply can’t provide. From cars and airplanes to consumer electronics and molds, 3D inspection is becoming part of the standard toolkit for companies that care about accuracy and efficiency.
What is 3D Inspection?
3D inspection is a non-contact, high-precision measurement process that captures the full geometry of a physical object using 3D scanning technology, by comparing the scanned 3D data with the original CAD model, manufacturers can detect dimensional deviations, assembly defects, warpage, and deformation with pinpoint accuracy.

Why 3D Inspection Is Gaining Ground?
- Increased demand for precision in complex manufacturing processes
- Higher expectations for product quality and regulatory compliance
- Rising use of CAD/CAM systems and digital twins in engineering
- The shift toward Industry 5.0 and smart factories
With 3D inspection, quality control is moving from time-consuming, manual checks to automated, data-driven workflows.
Advantages of 3D Inspection Over Traditional Quality Control Methods
Precision, efficiency, and data traceability are key pillars of effective quality control. Traditional measurement techniques—such as calipers, micrometers, height gauges, 2D drawings, or even Coordinate Measuring Machines (CMMs)—have served their purpose, but increasingly fall short in the face of today’s complex geometries, tight tolerances, and digital production workflows.
By contrast, 3D scanning-based inspection introduces a transformative approach to metrology. It provides:
-
Full-field measurement
Traditional contact-based methods can only measure a limited number of points on an object’s surface. This approach is insufficient for parts with freeform surfaces, or complex internal geometries.
3D scanning inspection can capture the entire surface geometry by acquiring millions of data points in a single scan. This complete 3D profile ensures nothing is overlooked, enabling highly detailed and holistic inspection.
-
Speed and Efficiency
CMM inspections often require time-consuming programming, manual probing and skilled operators.
In contrast, 3D scanning can digitize a part within minutes—even for large or intricately detailed components. Faster data capture rates, automated scan-to-CAD comparison, and batch inspection capabilities in some software make inspection cycles significantly shorter.
-
Non-Contact, Non-Destructive Measurement
Mechanical measuring tools and tactile CMMs can deform or damage soft, delicate, or flexible materials such as rubber and silicone components, thin plastic housings, foam, textiles, or medical devices.
Optical 3D scanning uses laser or structured light to capture data without any physical contact, ensuring non-destructive inspection that preserves the integrity of the part.
-
Digital documentation & Traceability
Unlike manual measurements that must be recorded by hand, 3D inspection systems automatically generate digital inspection reports and traceable 3D measurement data. This not only improves accuracy but also supports long-term quality tracking.
-
Direct CAD Comparison & GD&T Analysis
With traditional methods, comparing a manufactured part to a CAD model requires manual measurement of dimensions listed in 2D drawings—a process prone to human error.
3D inspection can directly perform automatic deviation analysis and GD&T tolerance checks. The result is fast, consistent, and fully digital verification aligned with original design intent.
How to Use 3D Scanners and Software for Inspection?
- 3D Data Capturing and Processing: Use 3D scanners to digitize the physical object. Clean, align, and register scan data into a high-quality model.
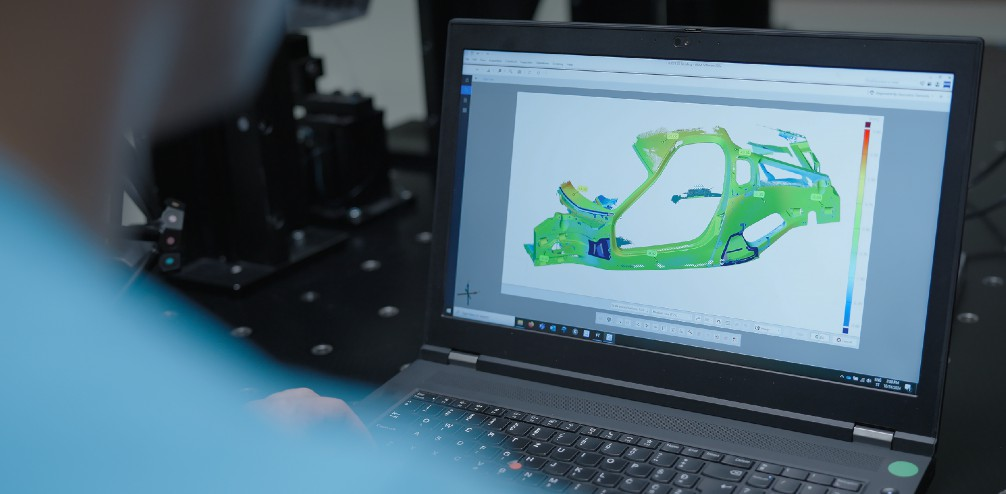
- Deviation Analysis: Importing both the 3D scanned model and the original CAD design into a 3D inspection software. After coordinate system alignment and establish inspection criteria, the software performs a deviation analysis.
- Final Report Outputting: Generate inspection reports with color maps, tables.
How 3D Inspection Applied in Various Industries
3D Inspection in Automotive Industry
In the automotive industry, 3D inspection plays a vital role throughout the entire product lifecycle, from tooling and part manufacturing to final assembly and post-market analysis.
For Tool and Mold Lifecycle Assessment, 3D scanning enables precise monitoring of wear and deformation, helping manufacturers extend tool life and ensure consistent quality. In Stamping and Plastic Parts Quality Control, 3D inspection allows for fast, full-field surface analysis to detect warpage, shrinkage, or dimensional deviations. During Assembly Positioning, high-accuracy 3D measurement ensures correct fit and alignment of panels, doors, and structural components.
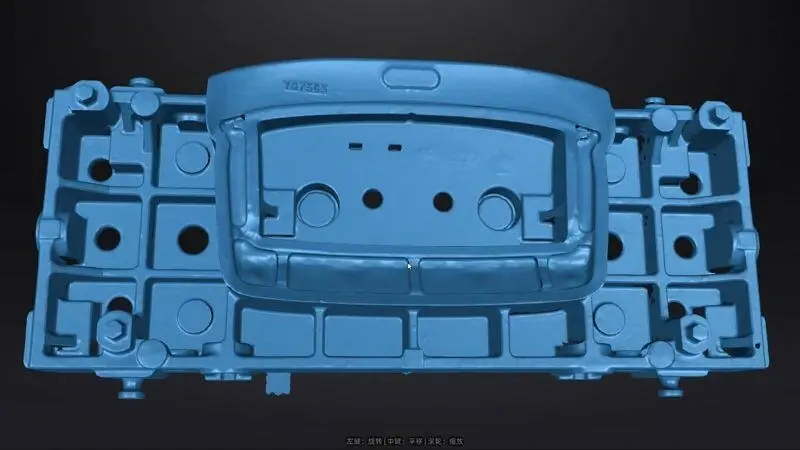
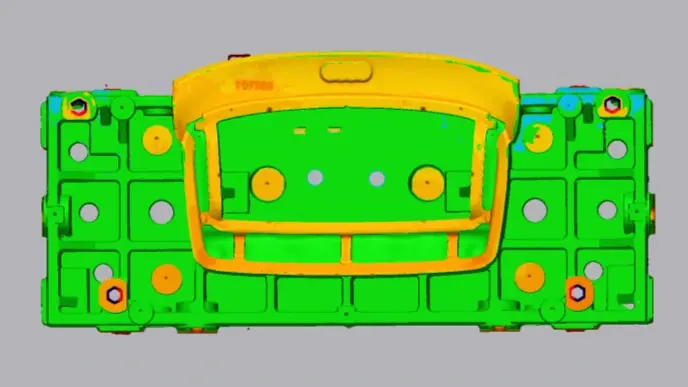
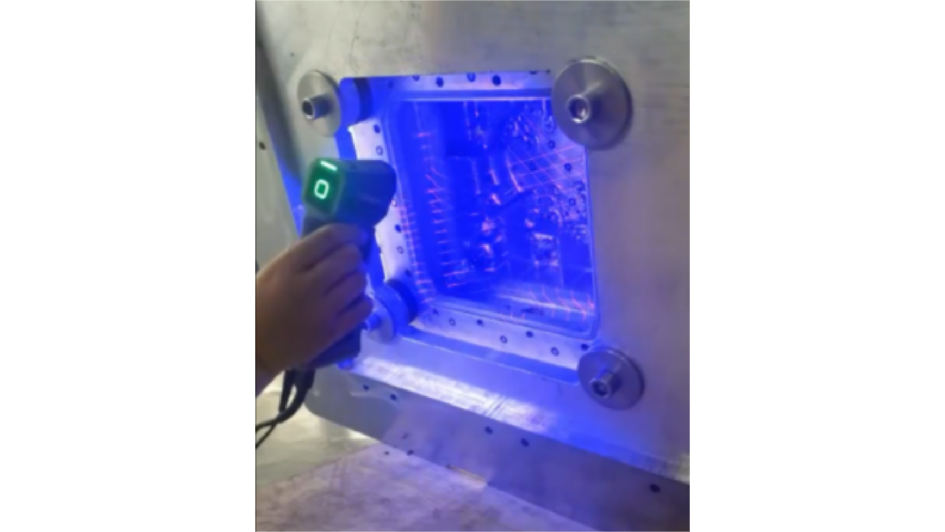
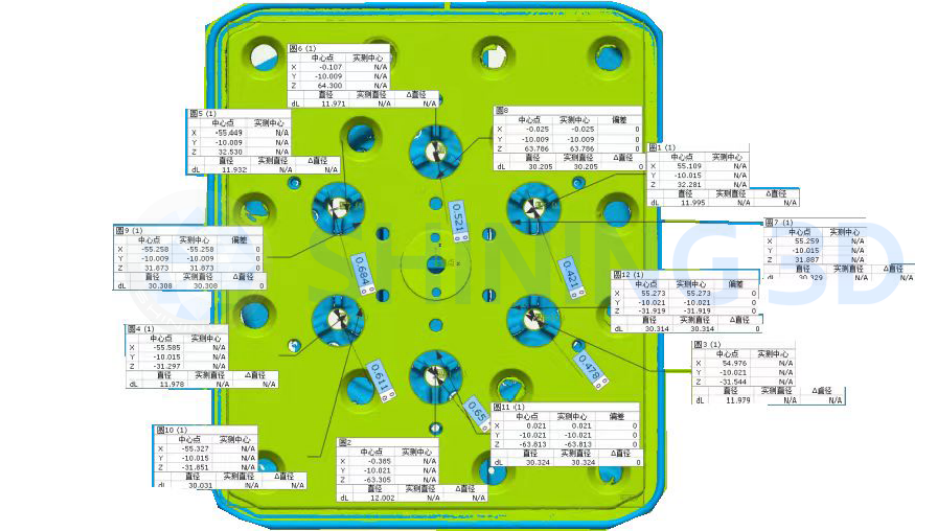
In the New Energy Vehicle (NEV) sector, 3D inspection enhances Battery System Safety and Wear Defect Evaluation, as well as Electric Motor and Control Electronics Inspection, ensuring both performance and safety in critical systems.
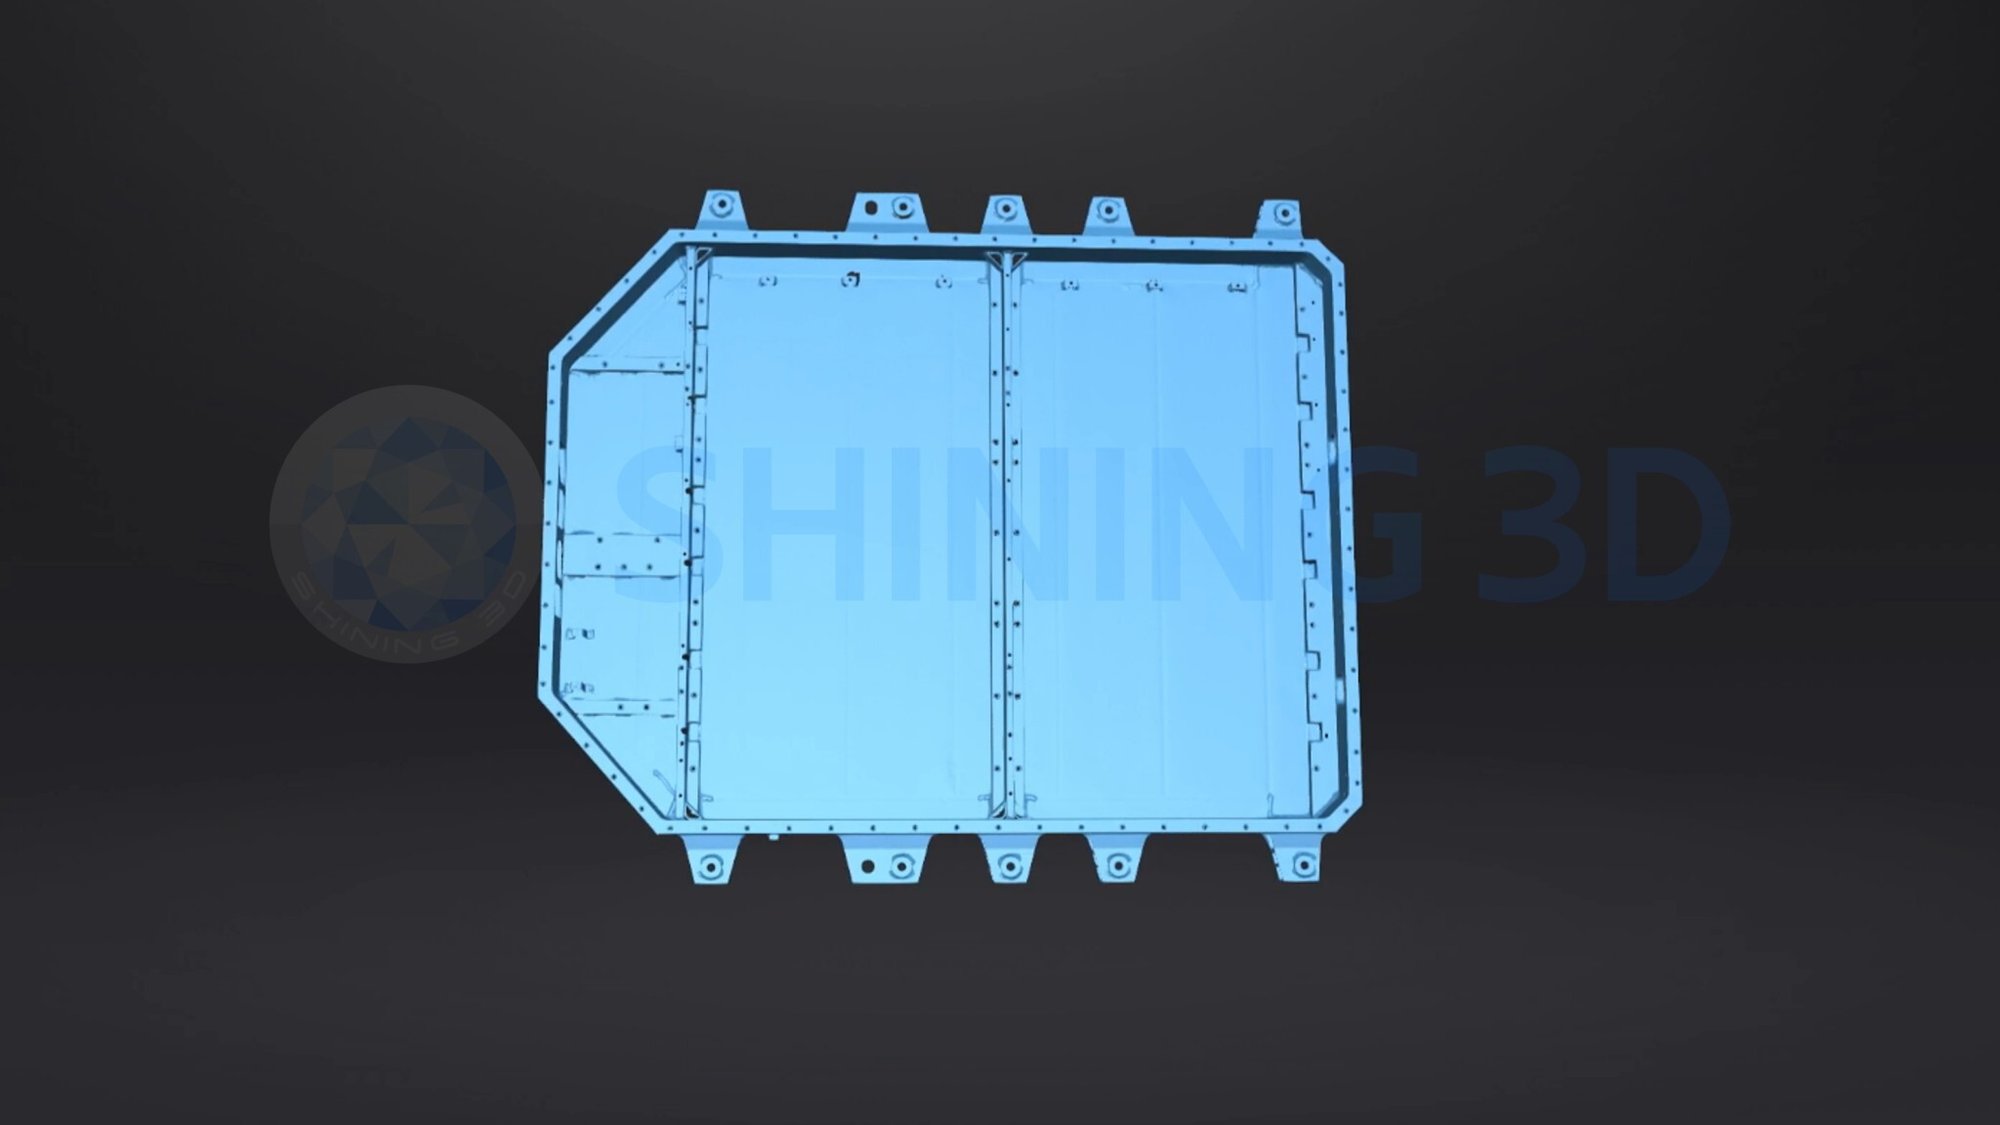
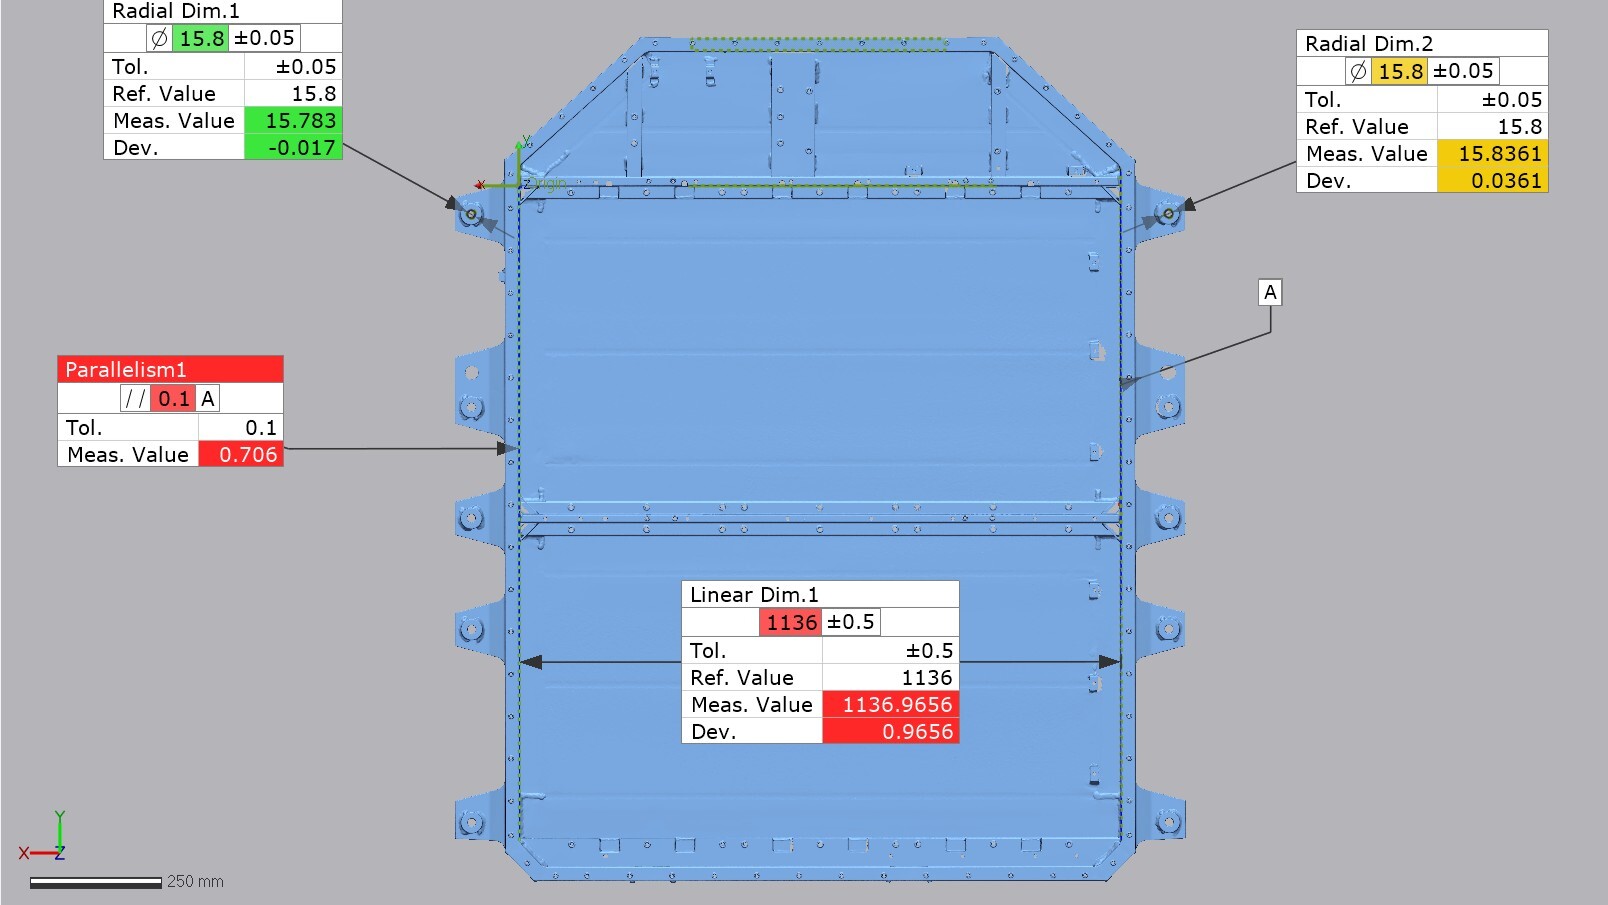
In the automotive aftermarket, 3D scanning supports Damage Assessment for repair verification.
3D Inspection in Civil Aviation Industry
In the civil aviation industry, 3D inspection is critical in ensuring safety, reliability, and performance across various components and systems. One of the most vital applications is engine blade quality control, where high-precision 3D scanning is used to verify blade geometry, edge thickness, and surface integrity to prevent performance issues or catastrophic failures.

Engine blade inspection
In the MRO segment, 3D scanning changes the way damage, wear, and alignment issues are detected and corrected. Traditional inspection methods are time-consuming and often require partial disassembly. 3D inspection, by contrast, is non-contact, rapid, and comprehensively digital. Applications include dimensional deformation assessment of key components such as casings, combustors and turbines, dent detection, and so on.

3D Inspection in Consumer Electronics Industry
3D scanning technology is a fundamental tool for digital precision inspection and is essential to quality control across the whole consumer electronics lifecycle. Taking laptops as an example, they support comprehensive quality assurance, from surface geometric tolerance inspection of structural components to internal part assembly verification, covering every stage of the manufacturing process. When integrated with automated robotic systems, it enables a seamless transition from design validation to mass production monitoring. This transforms traditional sampling-based inspection into full inspection, significantly enhancing quality traceability and production efficiency.
 Robotic automated inspection system inspects laptop cases on the production line
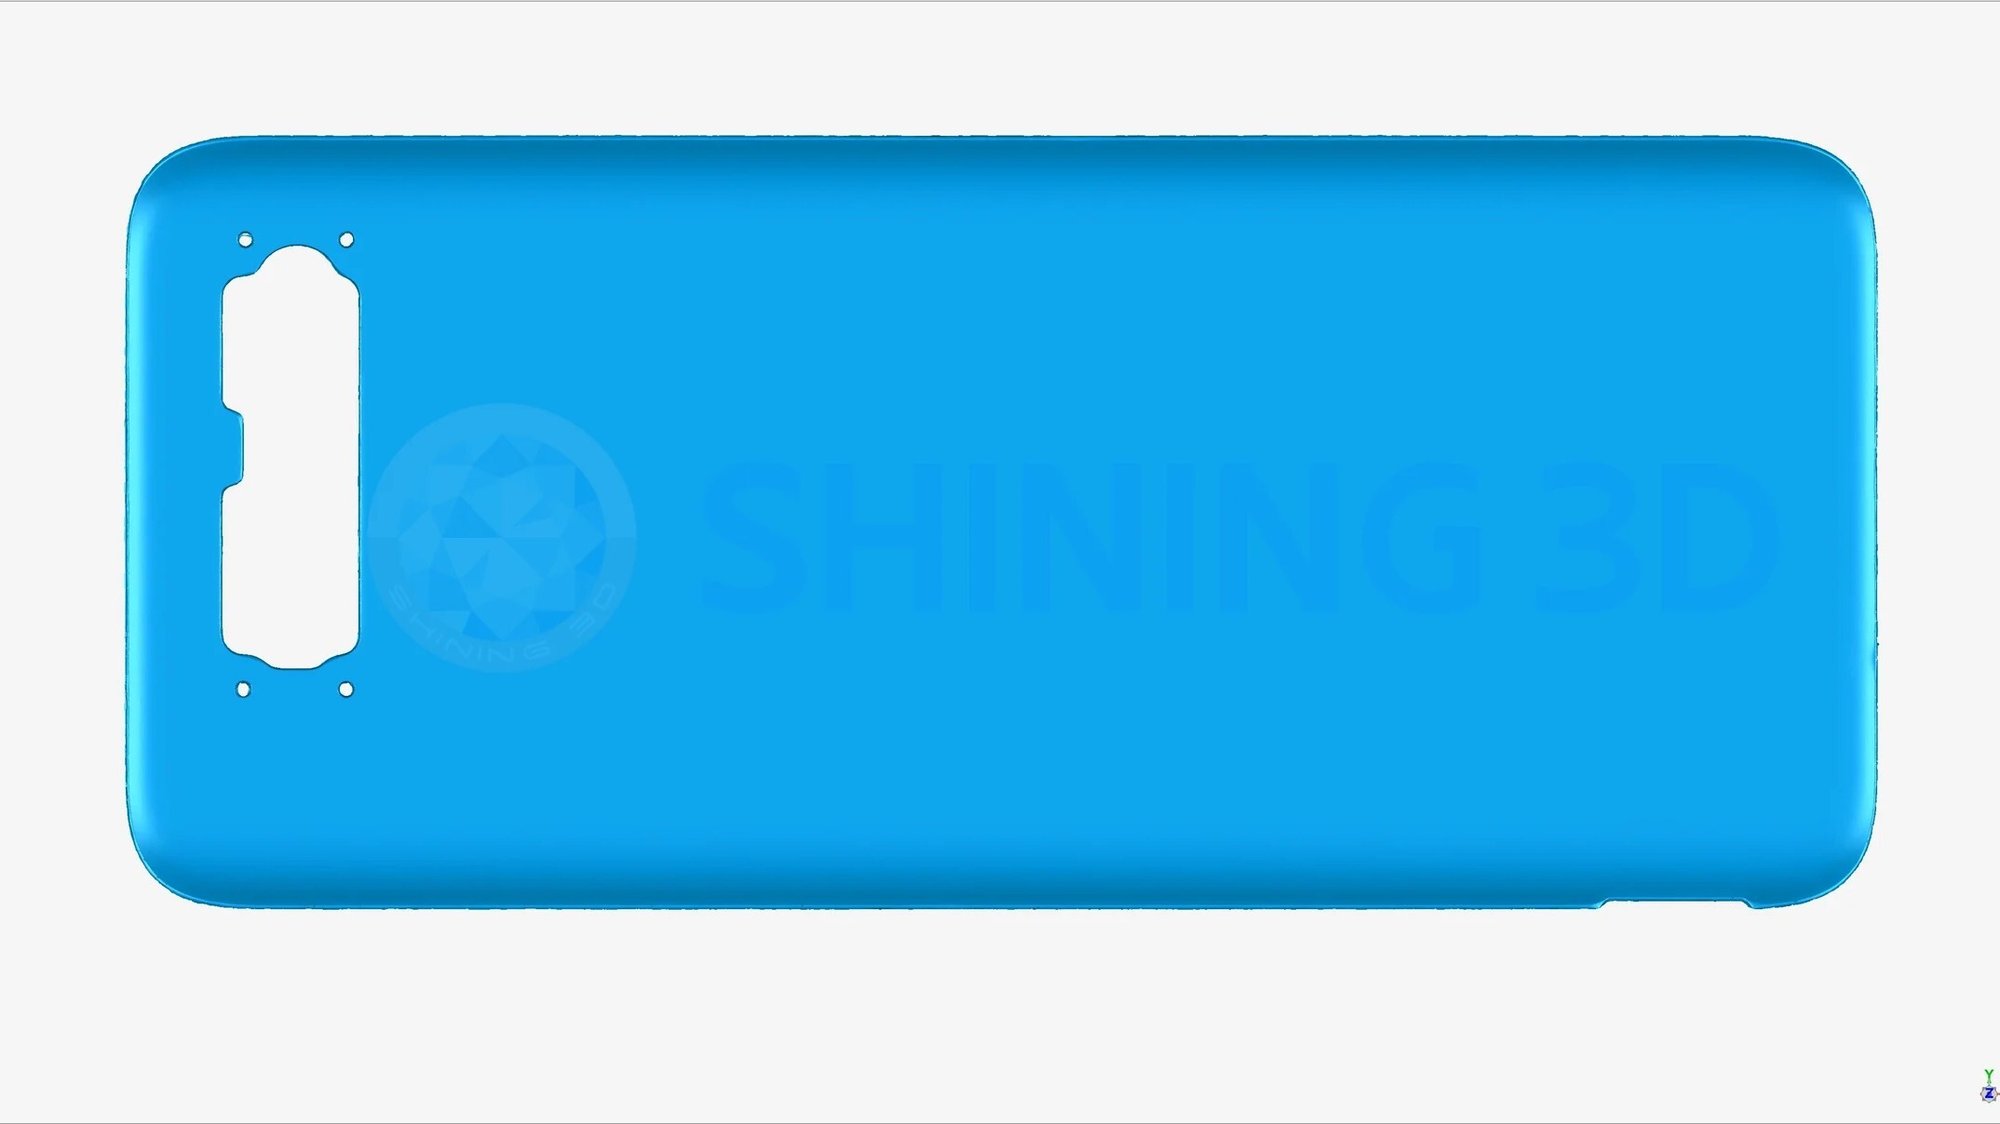
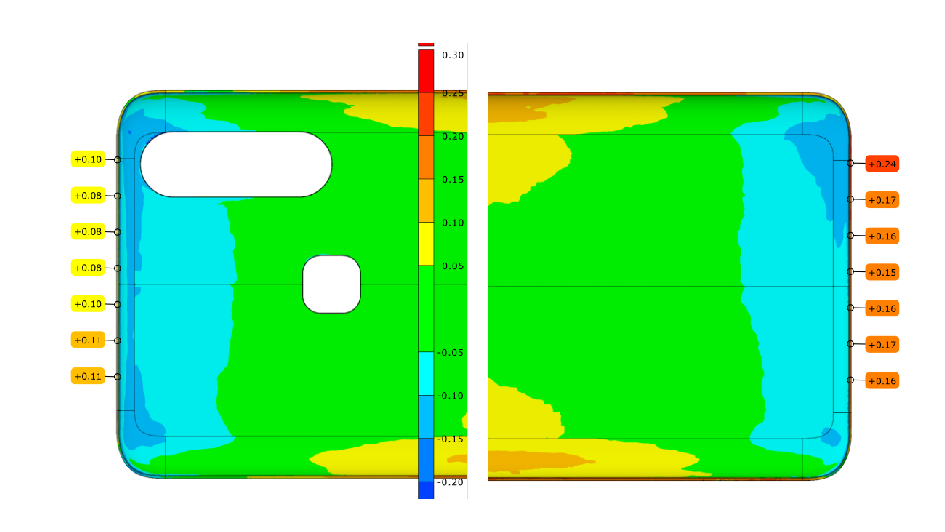
Smartphone Glass Panel Inspection
3D Inspection in Engineering Machinery Industry
3D scanning technology has been deeply integrated into the entire industrial chain of construction machinery. In the ultra-large equipment manufacturing sector represented by mining trucks, this technology constructs a 3D quality control system spanning from raw material supply to vehicle manufacturing and operational maintenance through comprehensive spatial data acquisition and intelligent analysis, facilitating the transformation from conventional manufacturing paradigms to data-driven intelligent manufacturing.

3D scanning a mining truck bed
During the initial manufacturing stages, dimensional quality control of cast and forged parts, geometric and dimensional accuracy verification of metal sheets, and inspection of high-strength fasteners and connectors are conducted with high-resolution 3D scanners to ensure compliance with strict engineering standards.
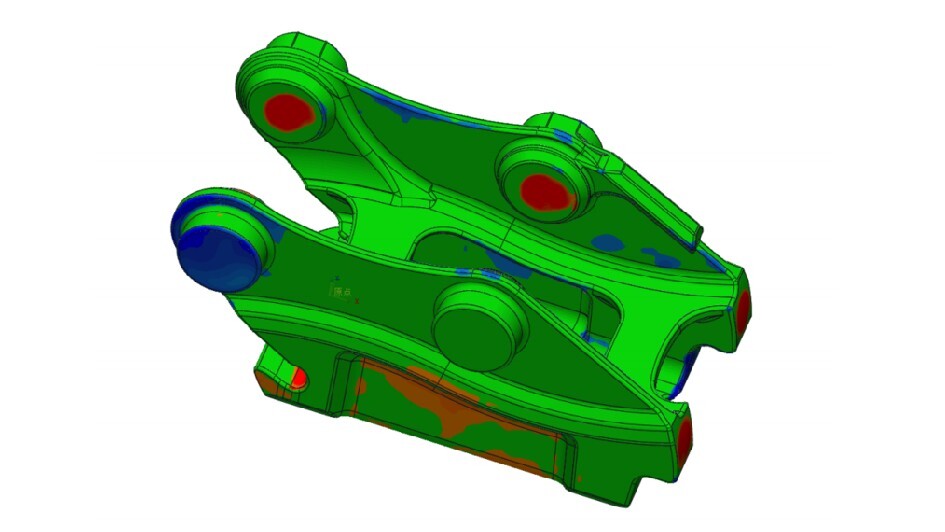
In the construction vehicle manufacturing and assembly phase, 3D inspection enables supplier quality assurance, machining deviation control of large components, and welding and assembly accuracy control, effectively reducing rework and improving process reliability.
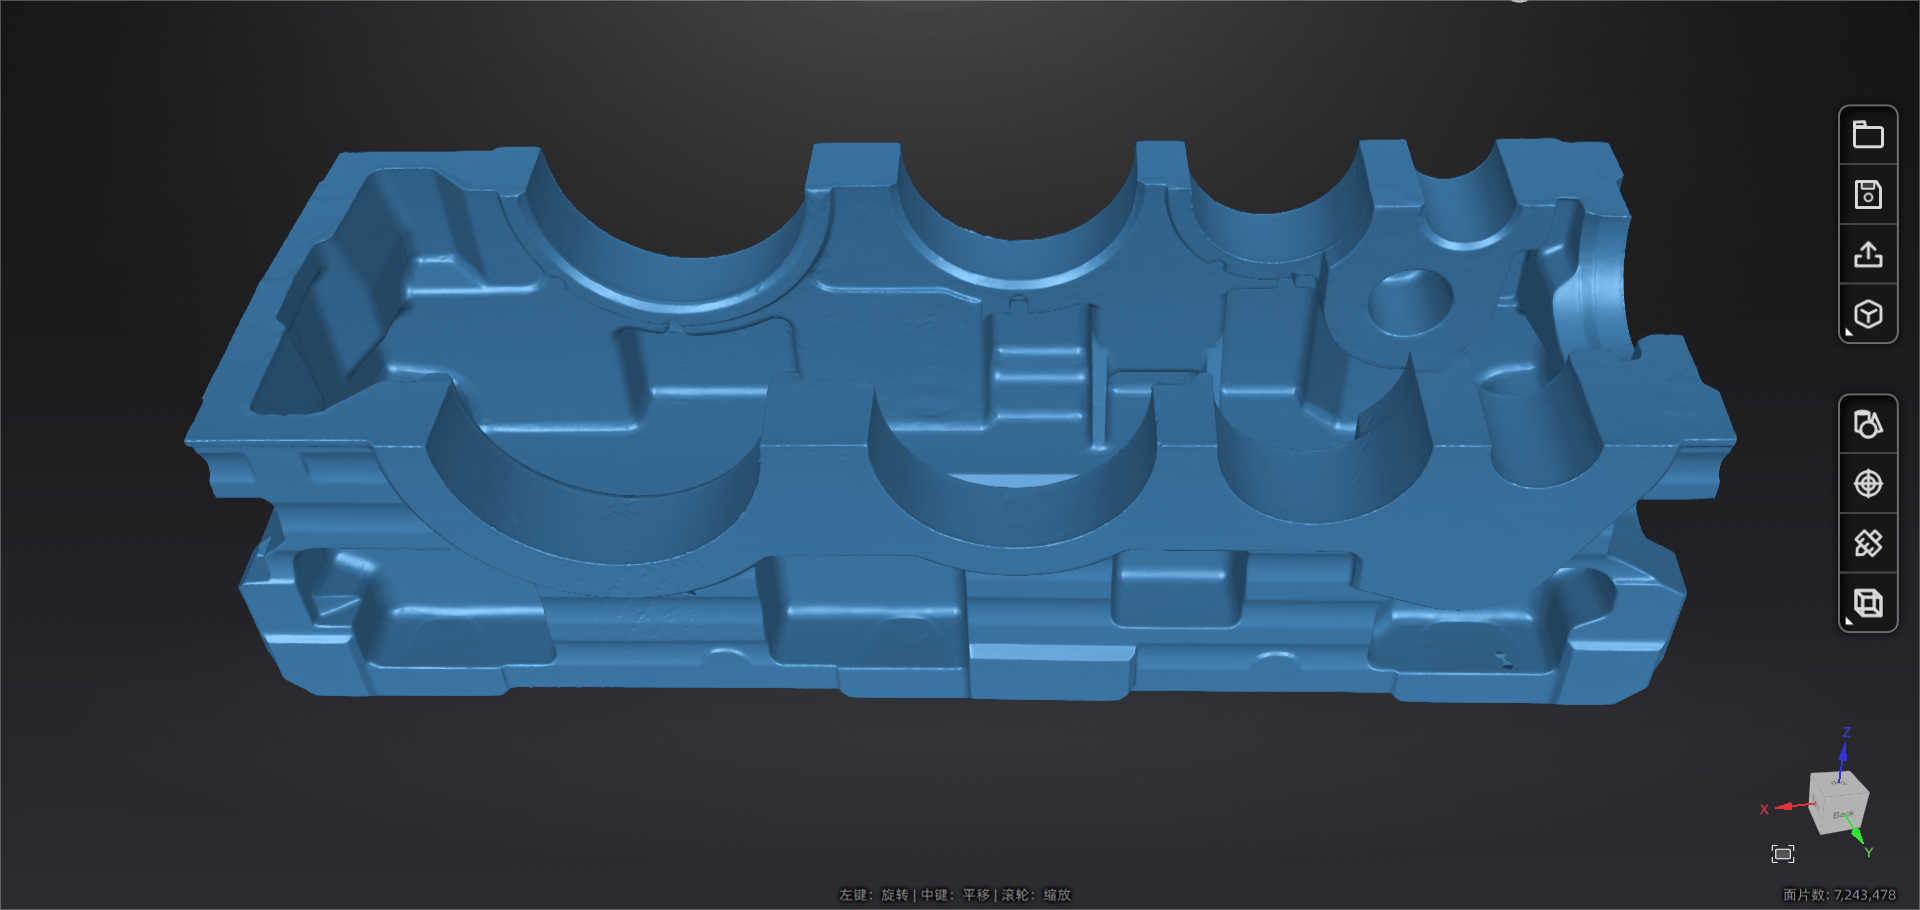
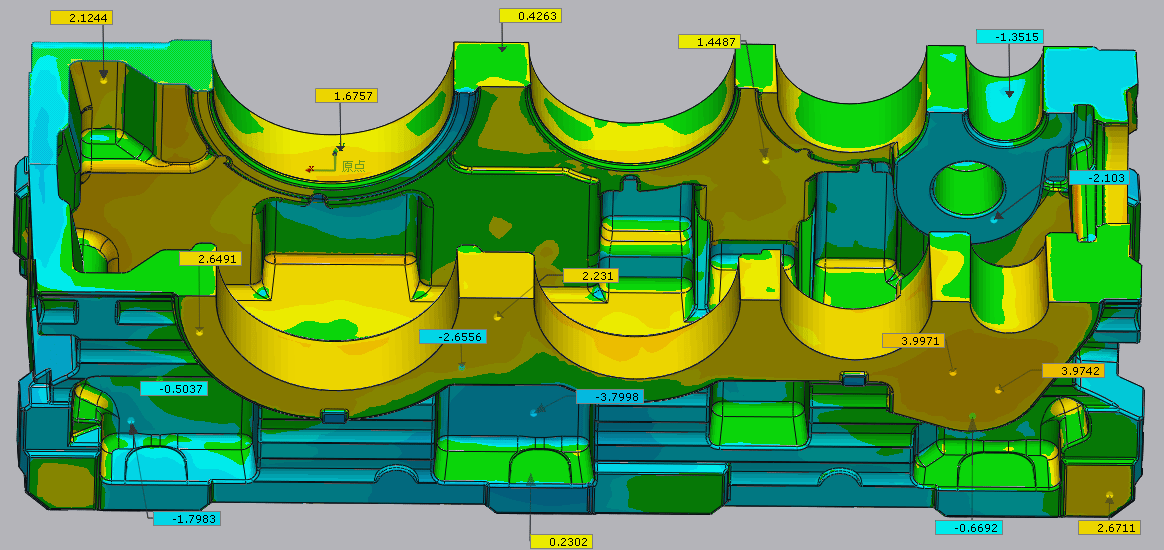
Reduction Gearbox Housing Inspection
Even during equipment maintenance and repair, 3D scanning facilitates seal aging quantification and structural deformation correction, helping engineers quickly identify issues and restore equipment to optimal condition.
3D Inspection in Tool & Mold Manufacturing Industry
In modern manufacturing, molds serve as the core enablers of precision forming, with their accuracy and reliability directly impacting the quality and efficiency of end products. Traditional inspection methods often fall short in rapidly capturing full surface data on complex geometries and are inadequate for accurately quantifying microscopic deformations and hidden defects. 3D scanning technology, leveraging non-contact digital acquisition, enables the creation of high-accuracy full-field mold databases. This empowers a comprehensive data-driven solution that supports the entire intelligent manufacturing chain—from design validation and process optimization to quality control and maintenance decision-making.
In CNC machining, it facilitates machining allowance analysis, datum alignment verification, and milling tool path validation, ensuring consistent and efficient production. Additionally, during first article and series inspection, it supports full geometry verification, material thickness analysis, automated inspection, and flush and gap evaluations. All this data is traceable, and repair records, supplier validation archives, and lifecycle quality data are maintained to ensure regulatory compliance and continuous improvement.

3D Scanning for Machining Allowance
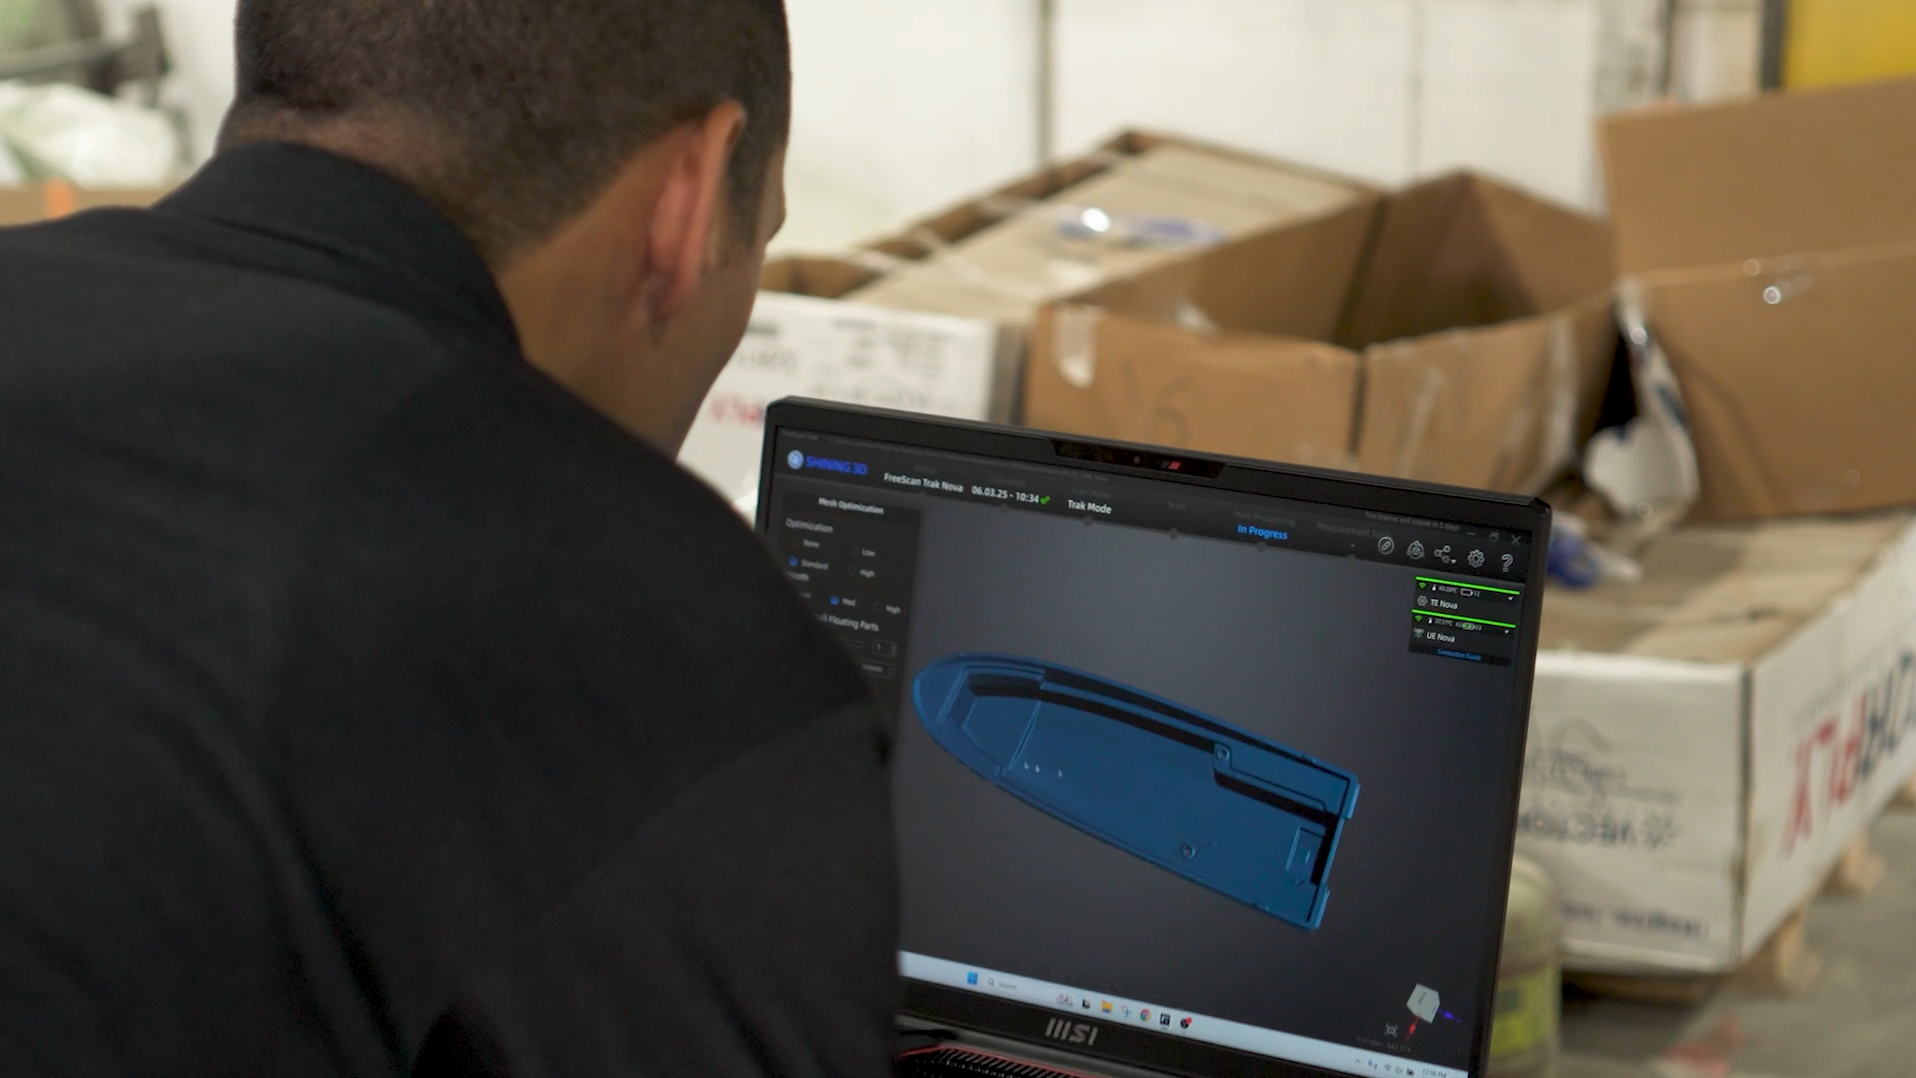
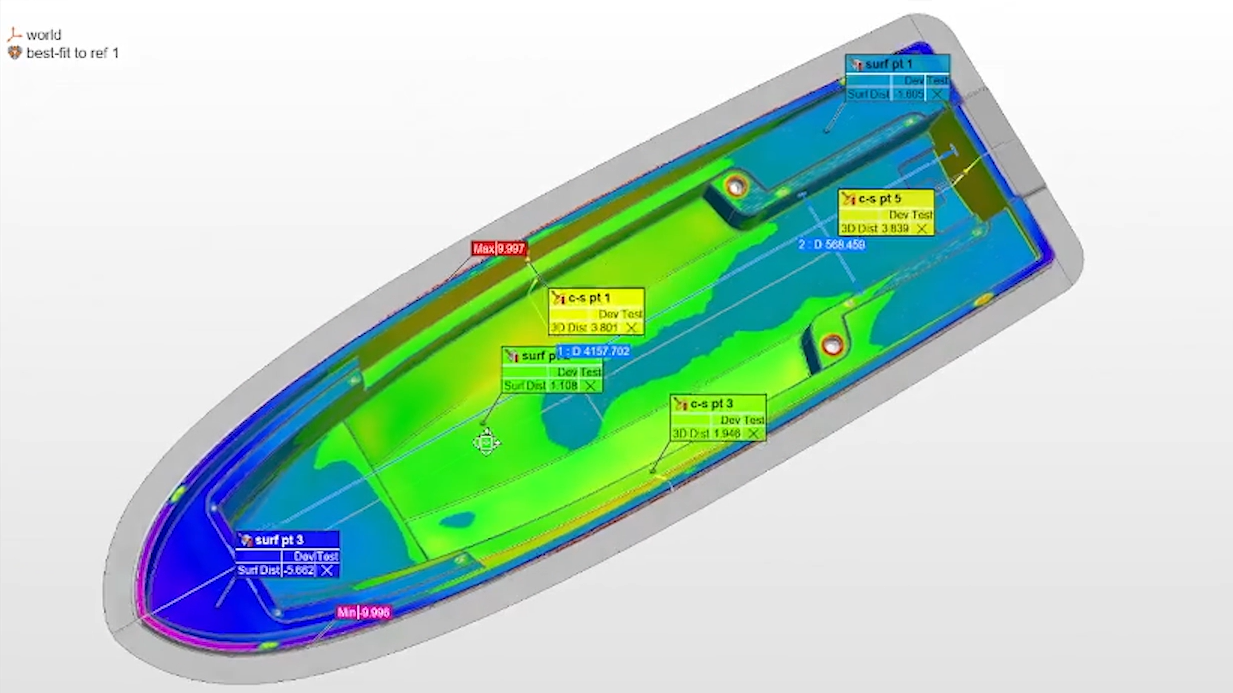
How High-Accuracy 3D Scanning Technology Advances Marine Mold Manufacturing and Inspection
3D Inspection in Power & Energy Industry
3D inspection in the power and energy industry focuses mainly on wind energy and gas turbine energy.
Given the structural complexity and extended production chain of wind power equipment, high accuracy quality control is essential across critical stages, including blade molding, drivetrain assembly, and tower construction, to ensure aerodynamic performance, transmission efficiency, and structural integrity. SHINING 3D addresses these challenges by providing comprehensive digital inspection solutions for wind power components of all sizes.

On-site scanning of wind turbine blades
Gas turbines emerge as the archetypal precision power systems in the energy sector. With non-contact and high accuracy measurement capabilities, 3D scanning technology enables a fully digitalized quality control loop across the entire lifecycle of key components such as compressors, turbines, and combustion chambers. This enhances manufacturing controllability while systematically feeding back massive inspection data into aerodynamic optimization and structural innovation for next-generation systems.

Important components of gas turbine
SHINING 3D Solutions
SHINING 3D provides a complete suite of advanced 3D scanning hardware and inspection software, offering robust, precise, and flexible solutions for a wide range of industrial quality control applications.
Hardware
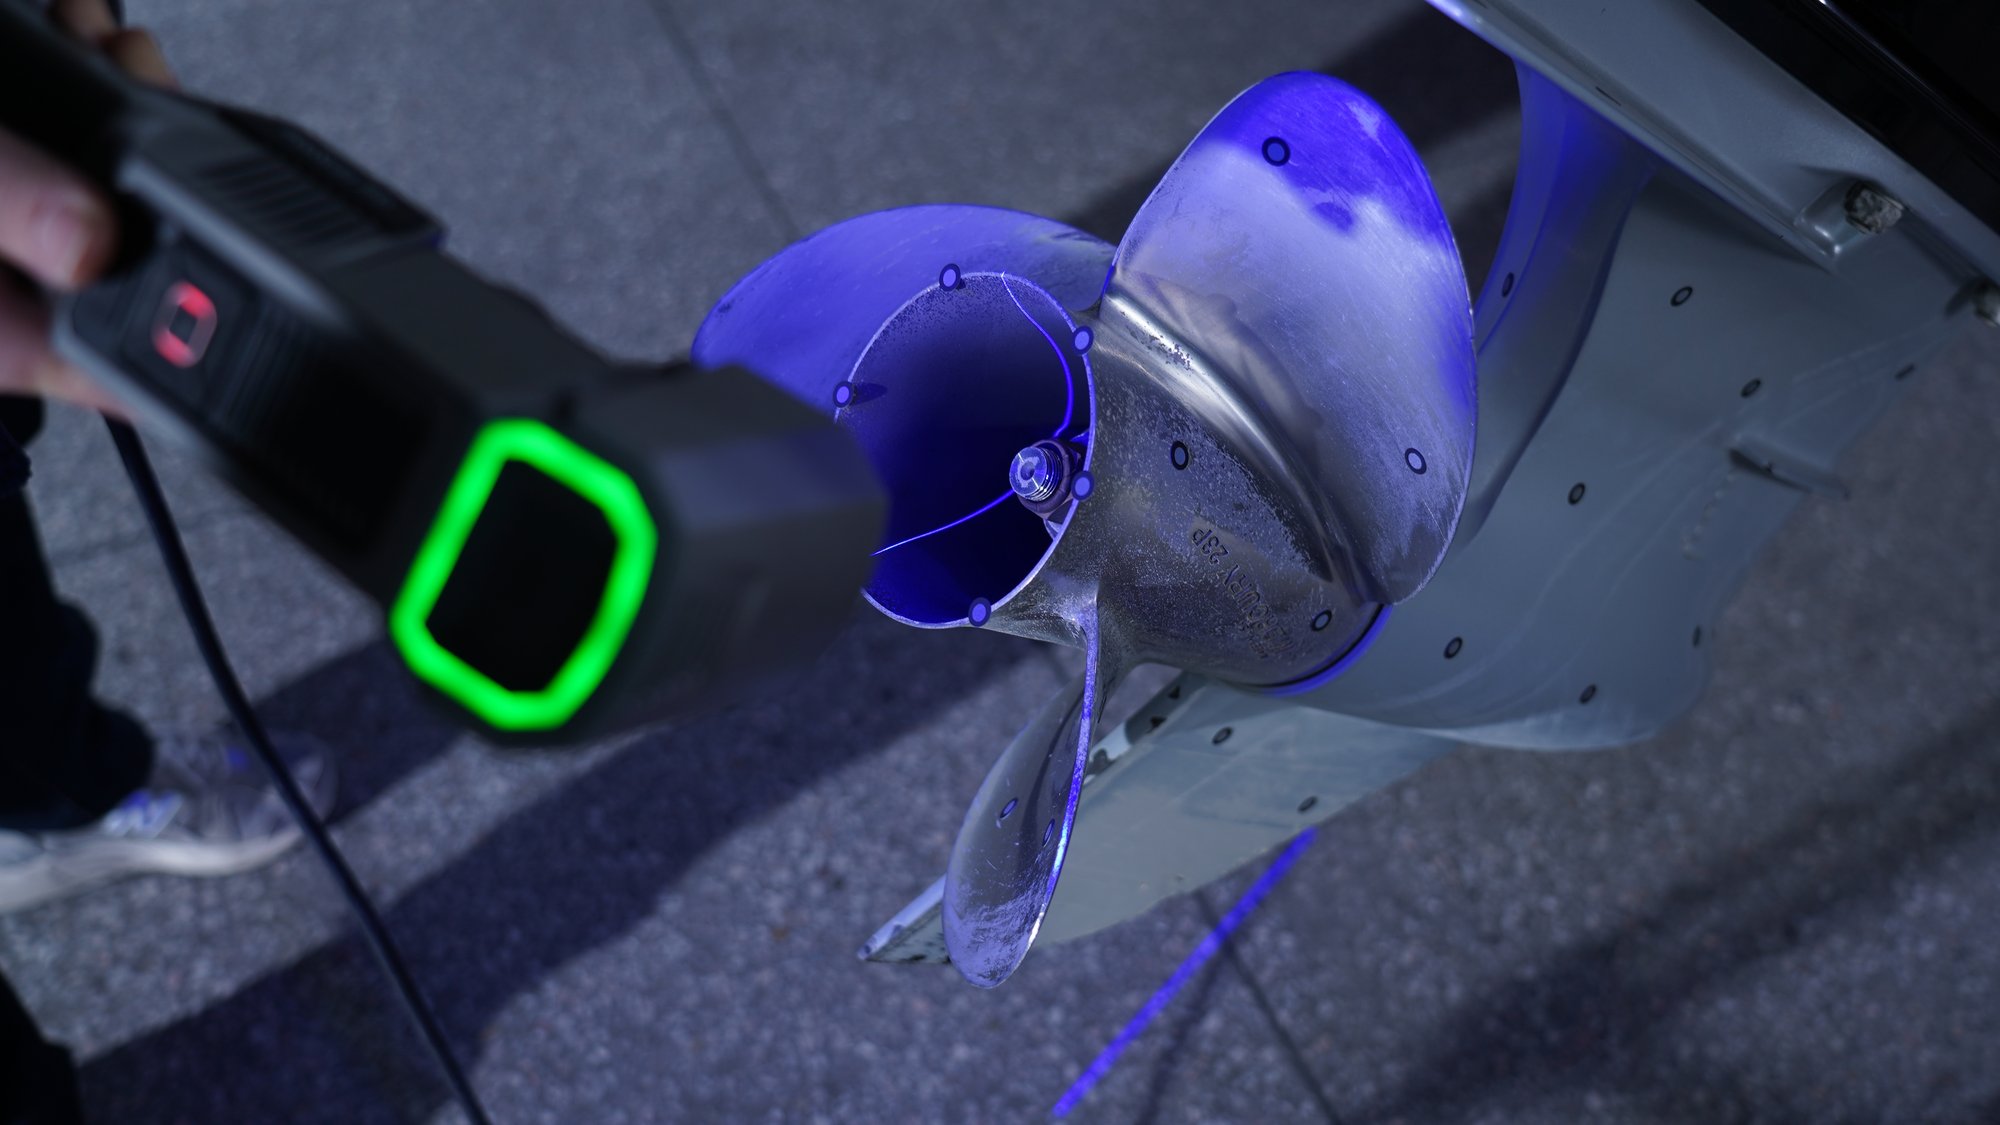
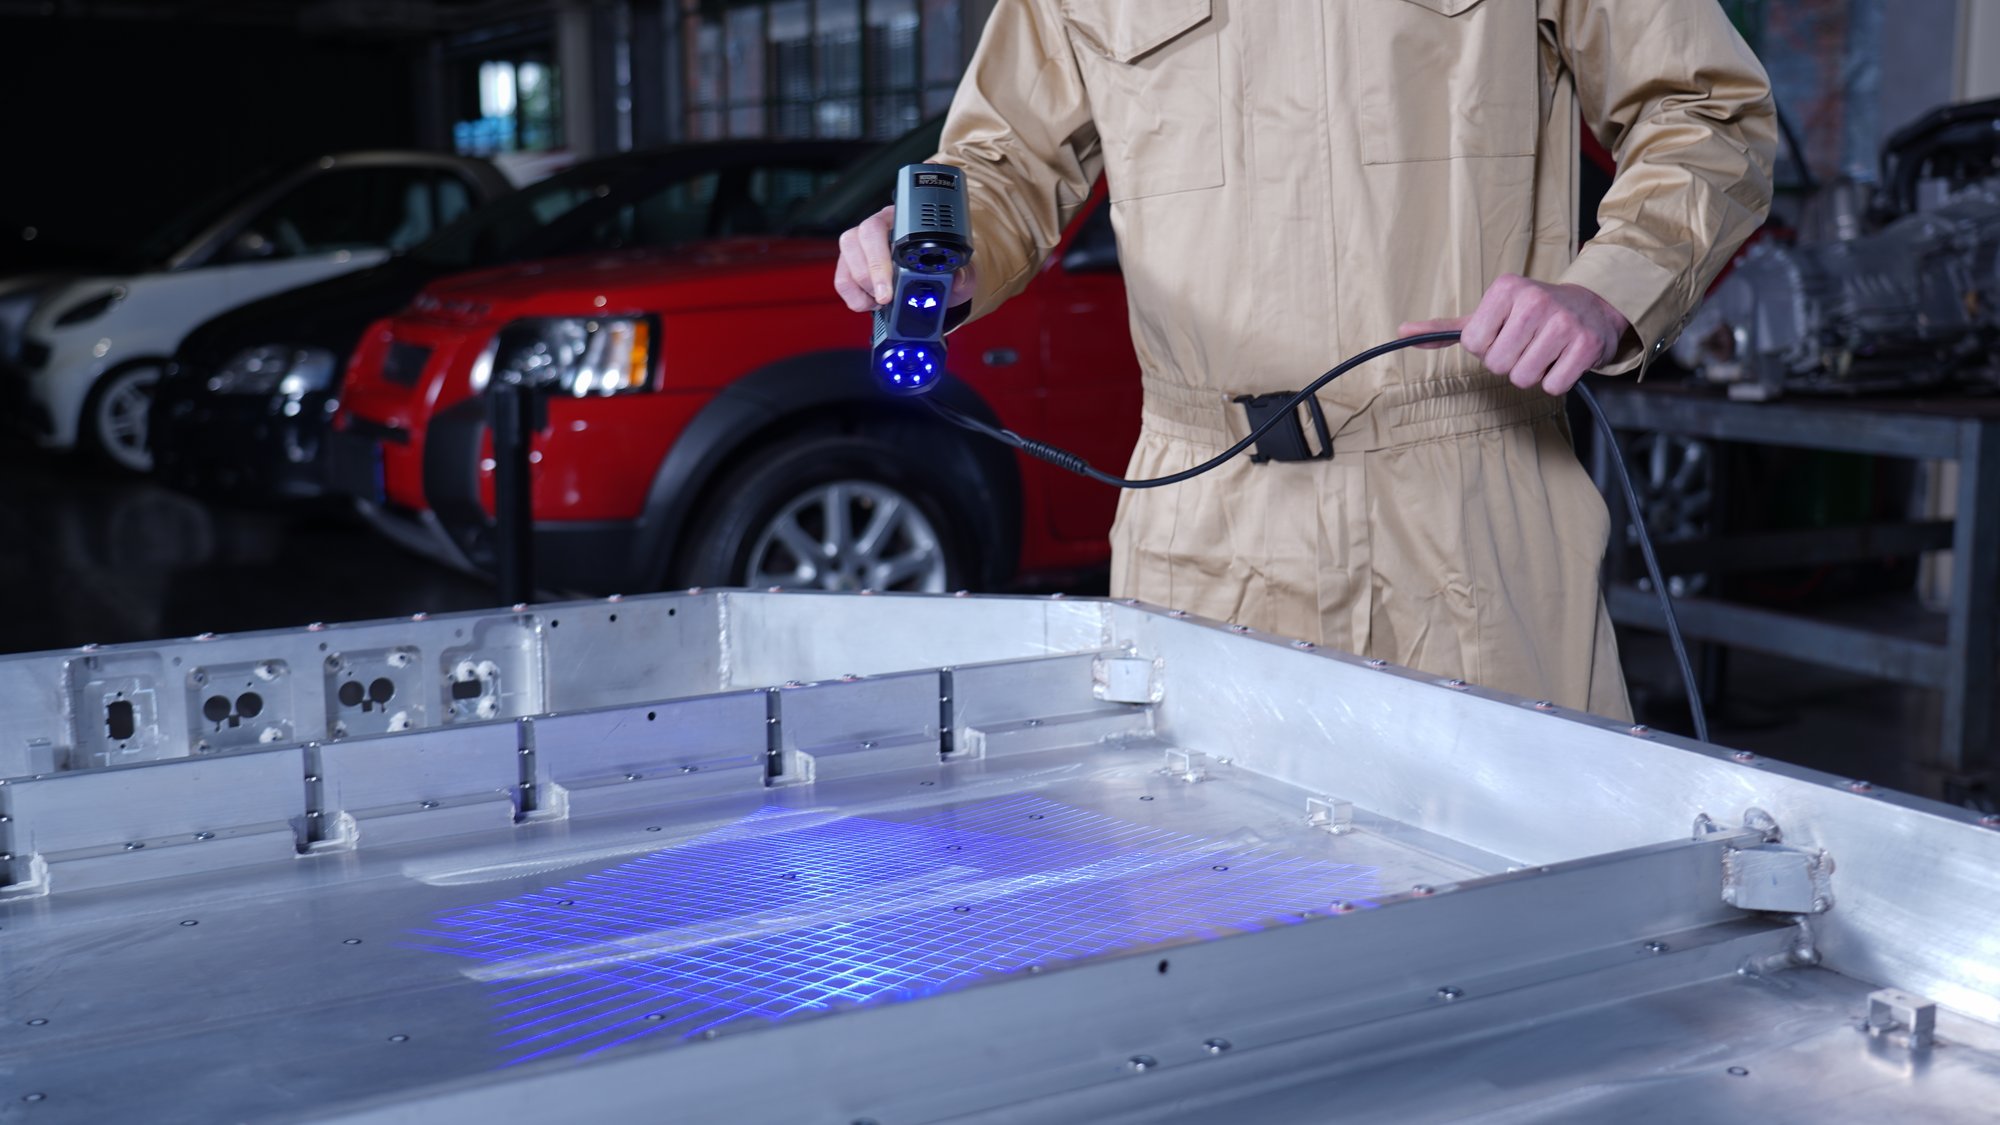
- Handheld 3D Scanners: SHINING 3D’s handheld 3D scanners are portable, high-accuracy tools ideal for on-site inspections. With options featuring laser and hybrid light sources, these scanners deliver reliable results on reflective, dark, or irregular surfaces. Their lightweight design and fast data acquisition make them a practical choice for industries like automotive, civil aviation, and mold manufacturing.

.webp?width=2000&height=1125&name=punch%20tool%20(2).webp)
Discover the product you're looking for
- Full specifications
- Using scenarios
- Key features
- Even comes with a bundle!
-
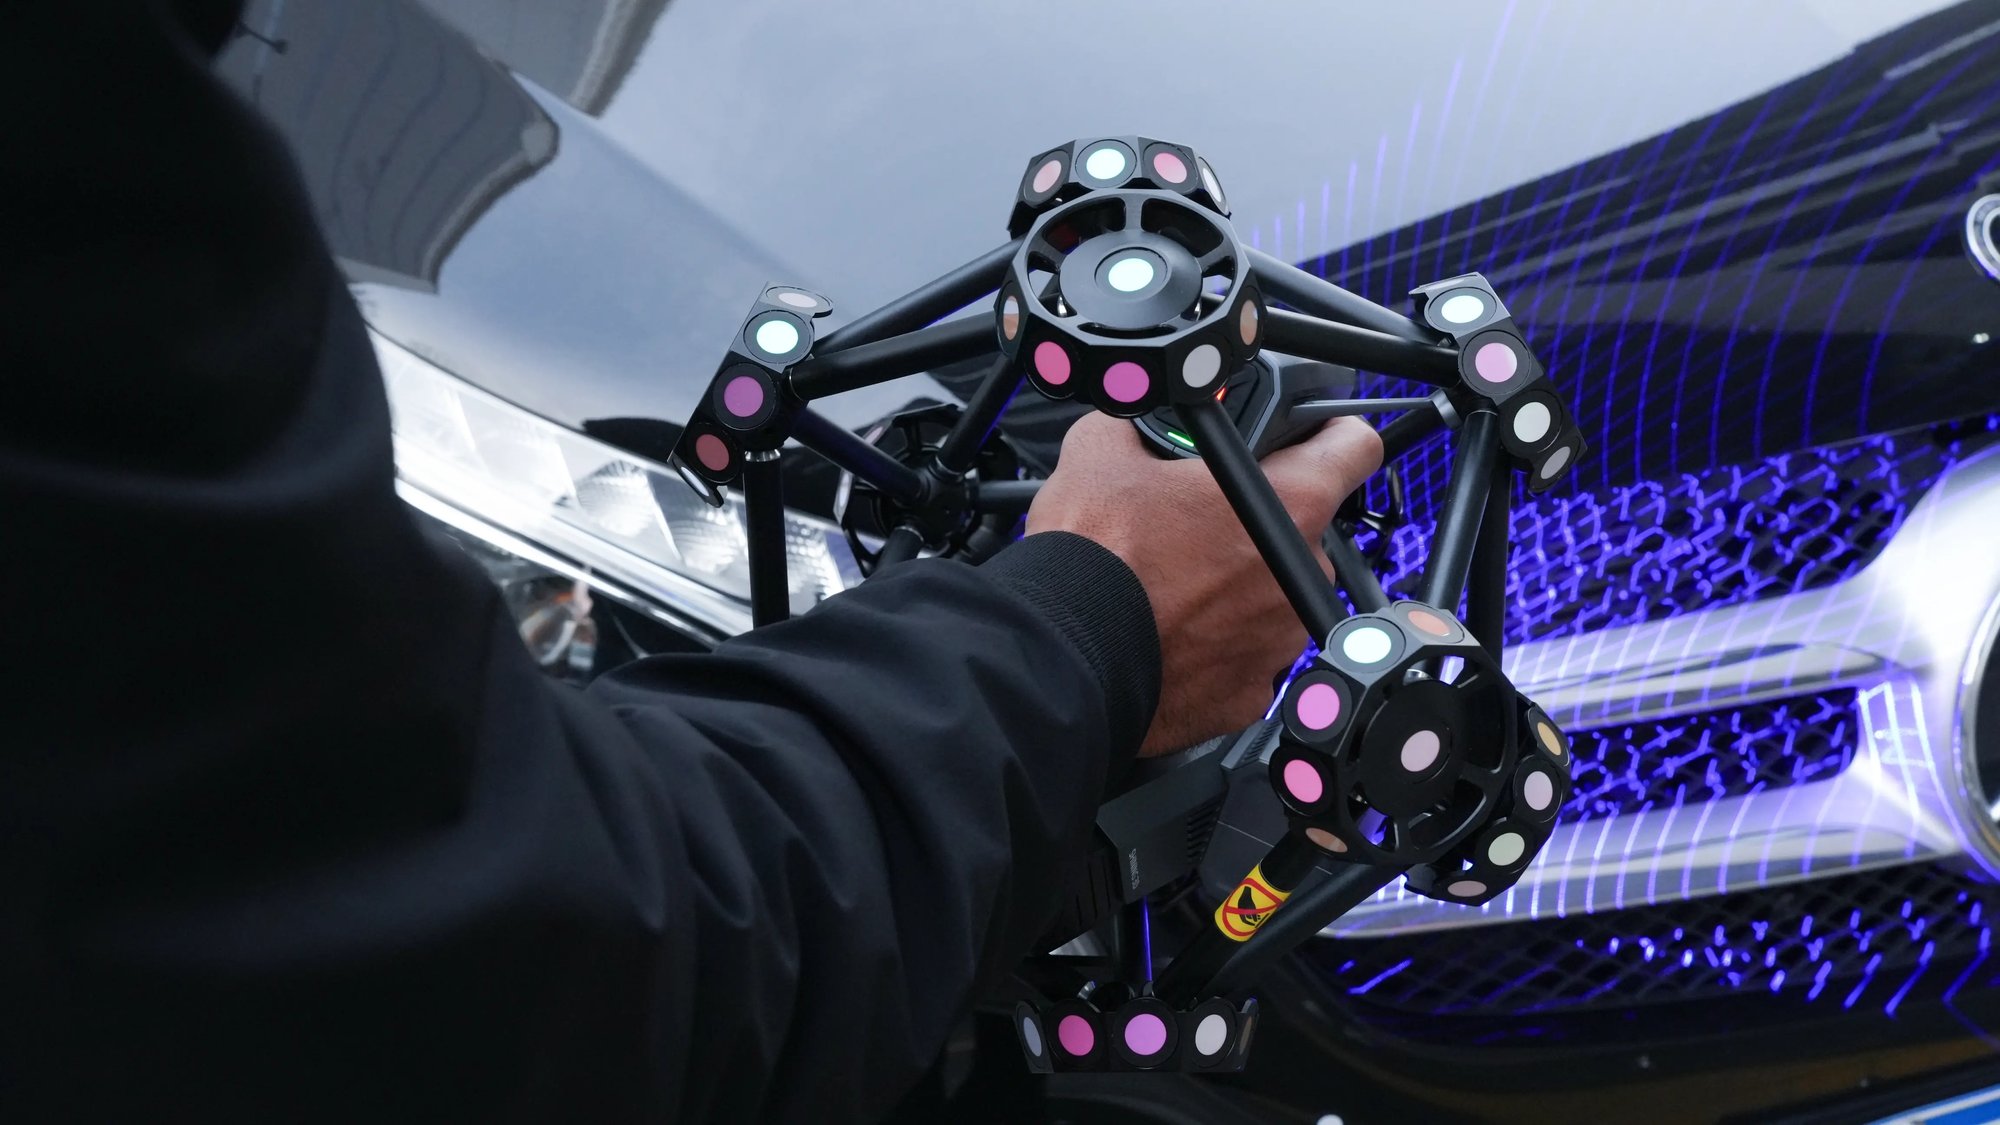
Optical 3D Measuring & Dynamic Tracking Systems: This system is designed for real-time, marker-free 3D measurement and tracking of large objects. It enables dynamic reference. Ideal for applications such as large parts assembly verification, large equipment alignment, and structural deformation analysis, this system streamlines the inspection of oversized or complex geometries.
.jpg?width=2000&height=1125&name=tube%203%20(10).jpg)
SHINING 3D optical 3D measuring & dynamic tracking systems
-
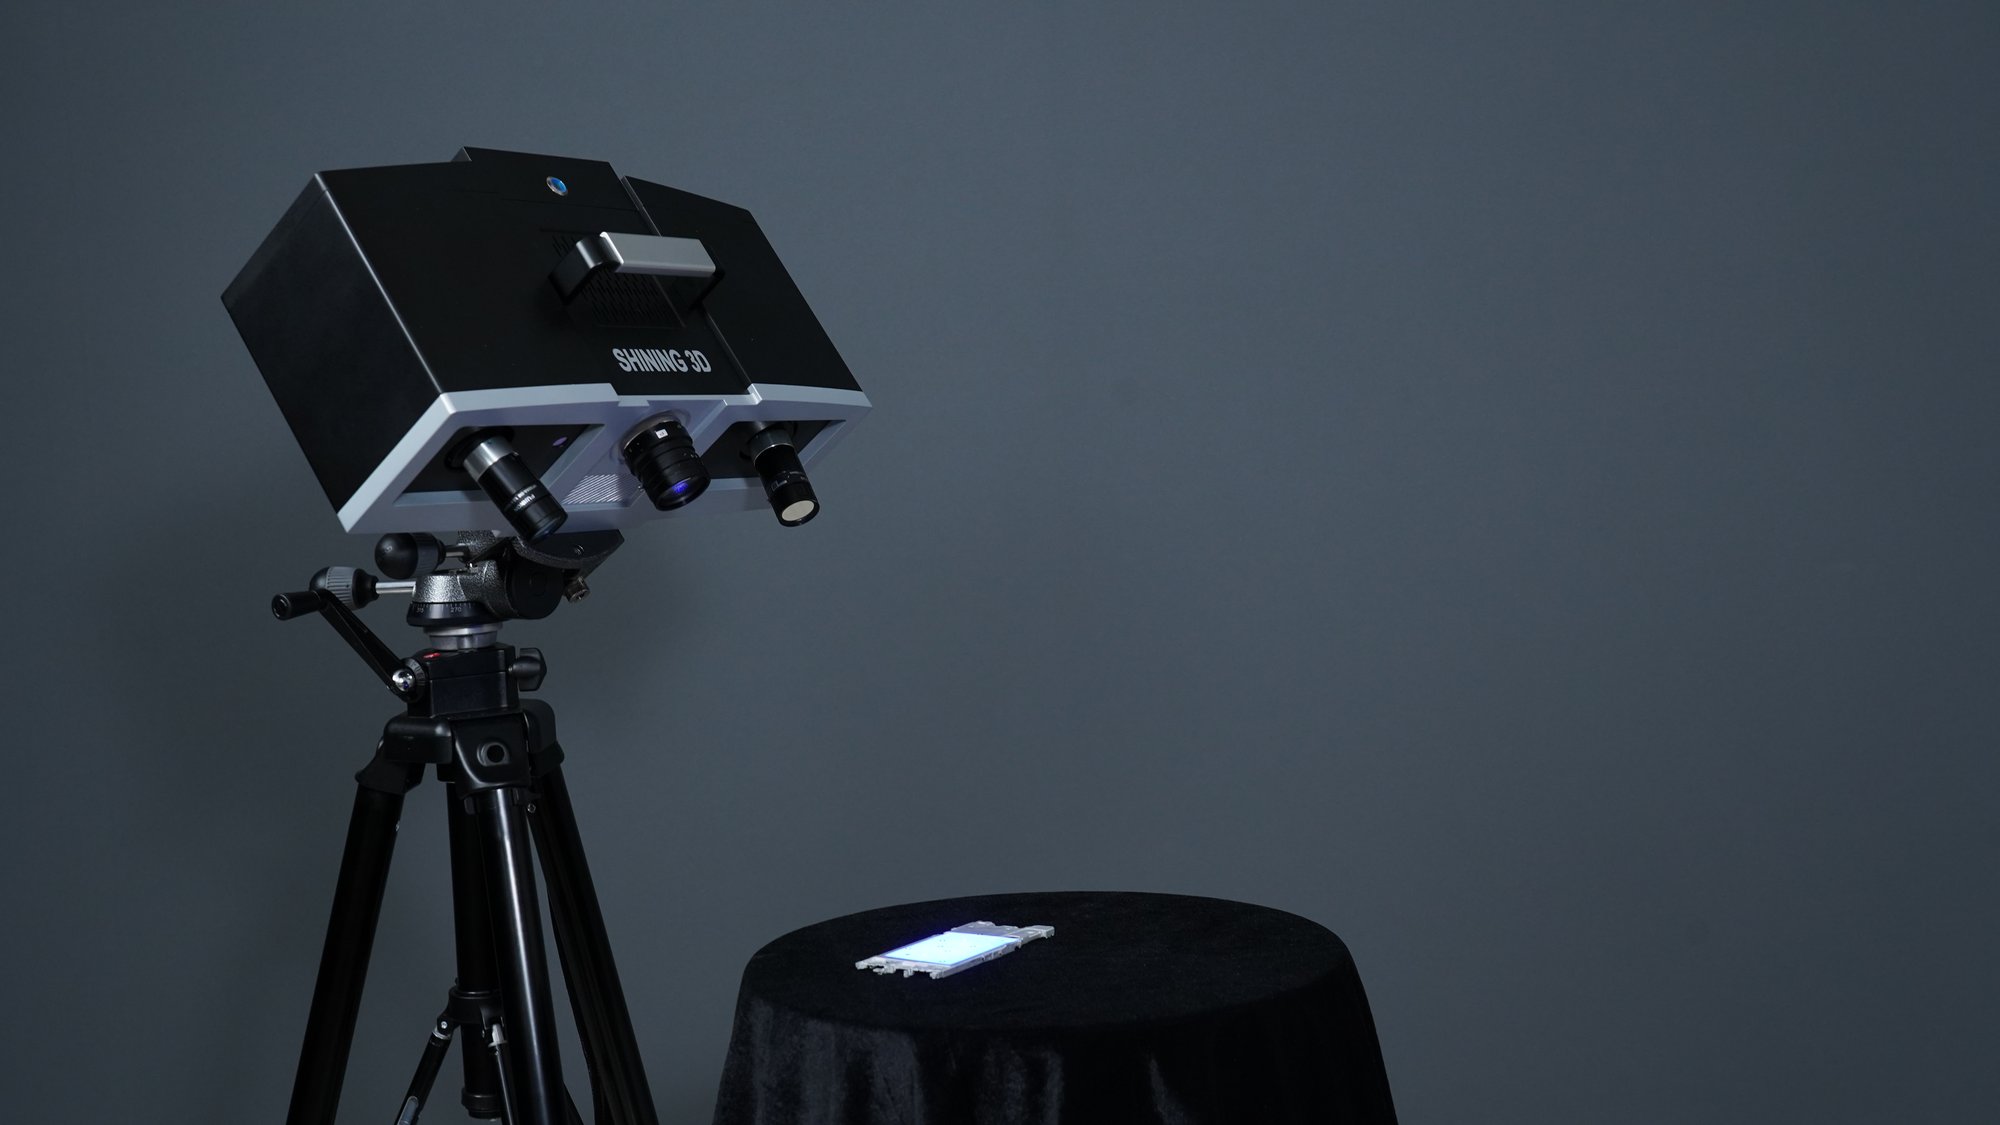
High-Precision 3D Inspection Systems: For applications demanding extreme highaccuracy, SHINING 3D’s high-precision inspection systems provide unmatched detail and reliability. These systems are often used in precision engineering scenarios. They deliver consistent, high-resolution scan data suitable for critical dimensional analysis and detailed part validation.
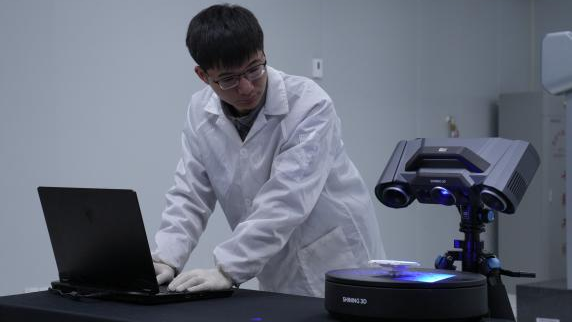
SHINING 3D high-precision 3D inspection systems
Software
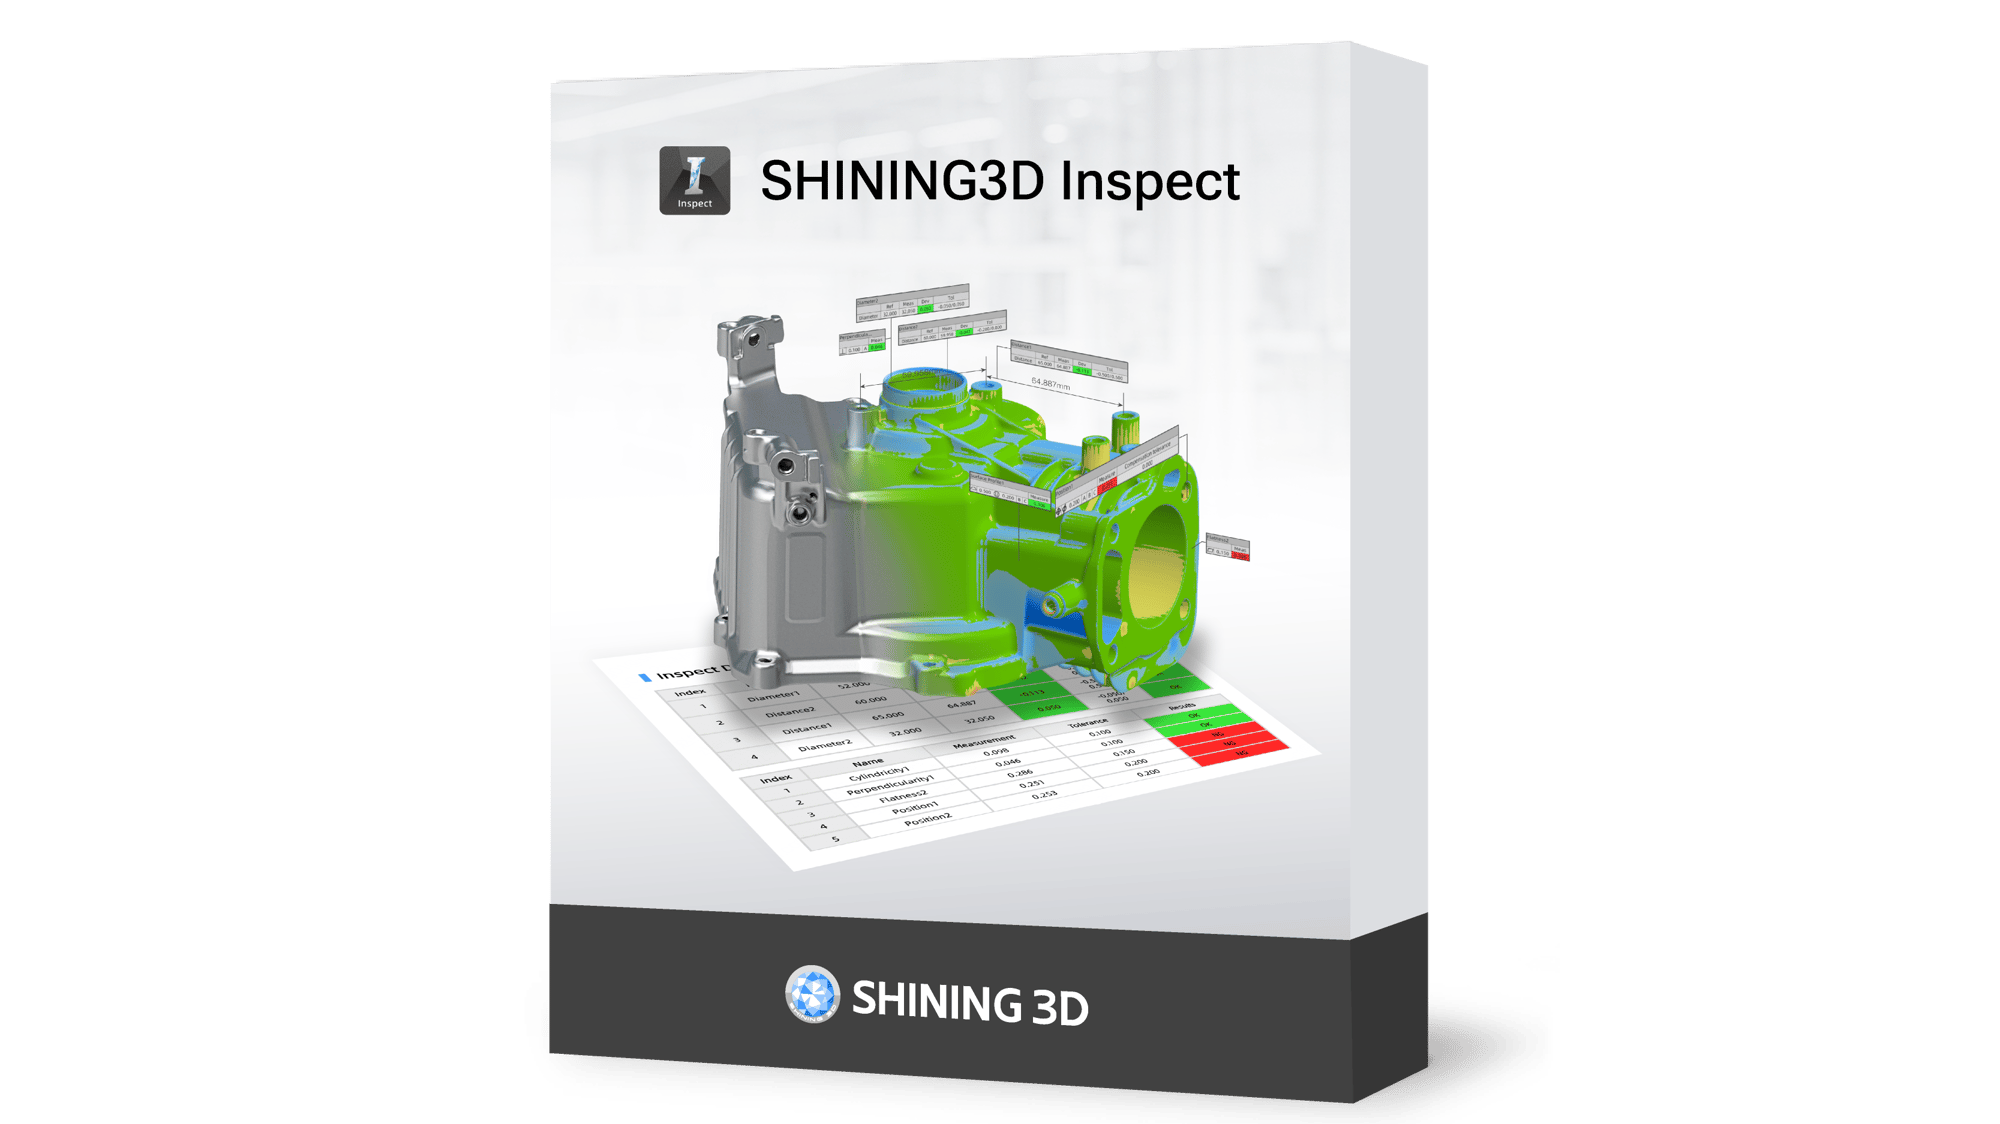
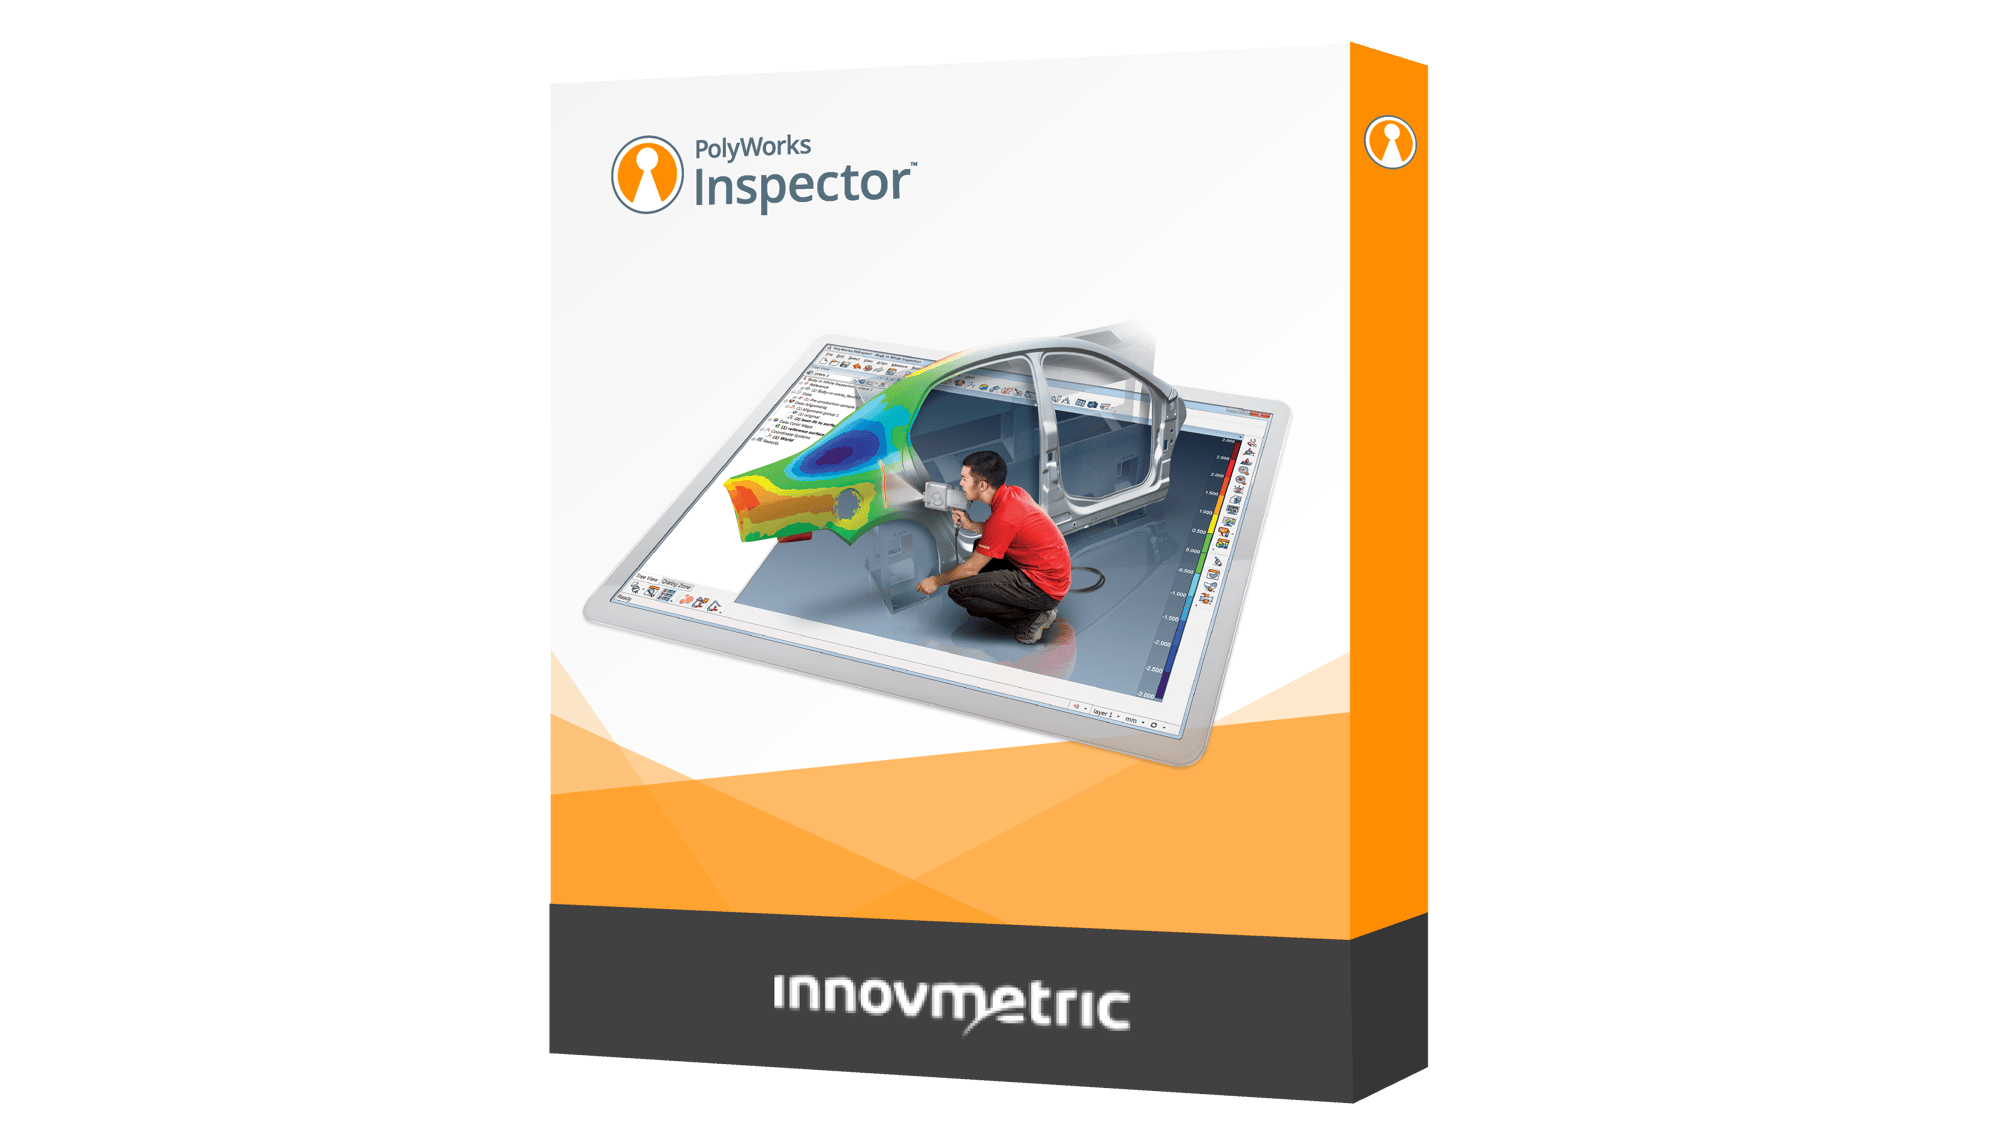
SHINING 3D’s 3D scanners are fully compatible with a range of mainstream 3D inspection software (SHINING3D Inspect, PolyWorks Inspector), enabling users to build efficient and professional-quality inspection workflows tailored to various industrial needs. Users can seamlessly process scan data, perform accurate measurements, and generate comprehensive inspection reports.
The true value of 3D inspection lies in understanding the gap between design and the actual product, and uncovering uncertainties in the manufacturing process. It transforms quality control from passive reaction to proactive optimization.
If you are looking for an efficient and flexible 3D inspection solution, SHINING 3D offers a full range of hardware and software to help you improve inspection efficiency and raise your quality standards.
Contact us today to request a product demo or discuss tailored solutions for your industry.

