Overview:
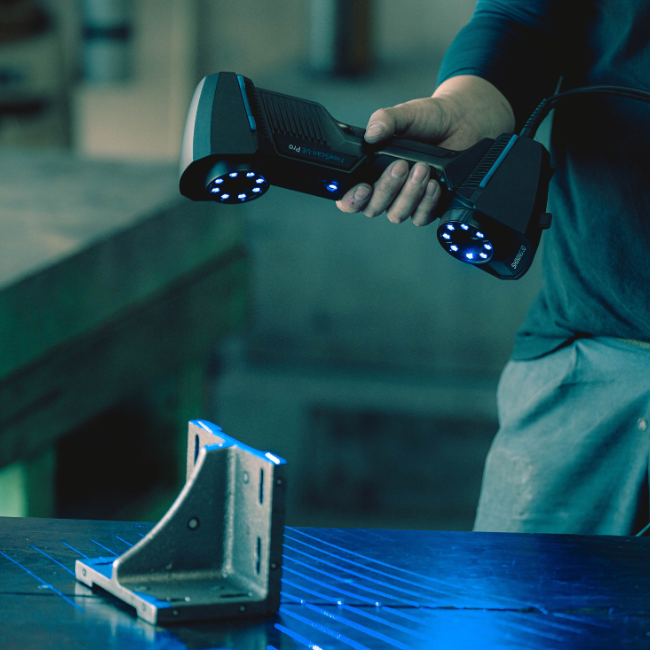
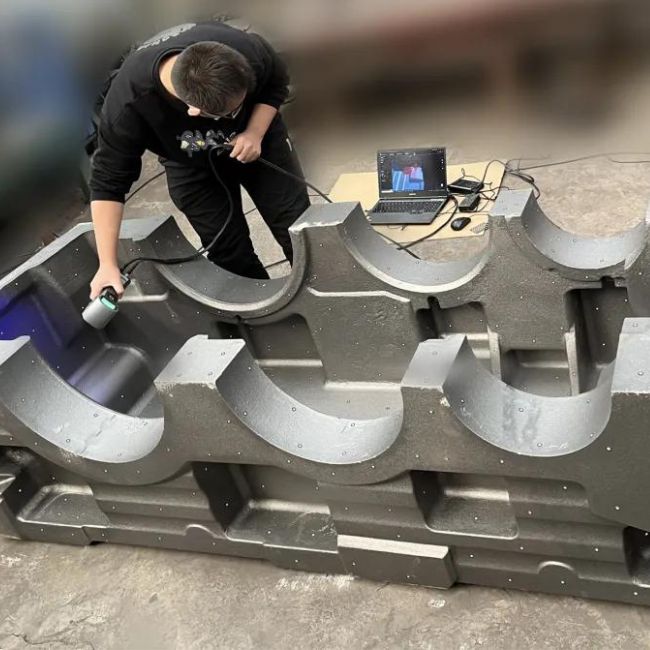
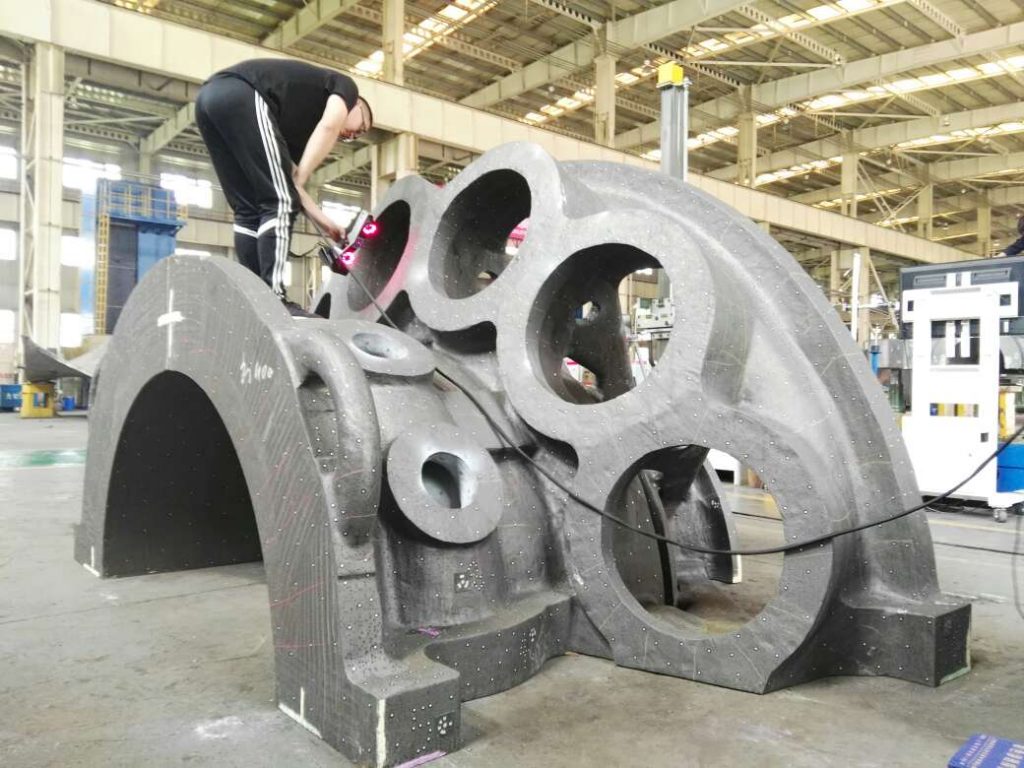
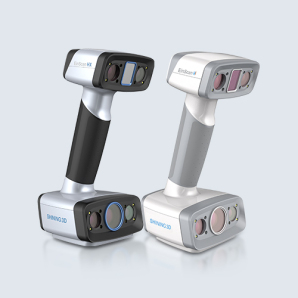
A gas turbine manufacturer uses the FreeScan X7 handheld 3D laser scanner and the Digimetric photogrammetric system to scan and inspect workpieces of large gas turbines.
Background:
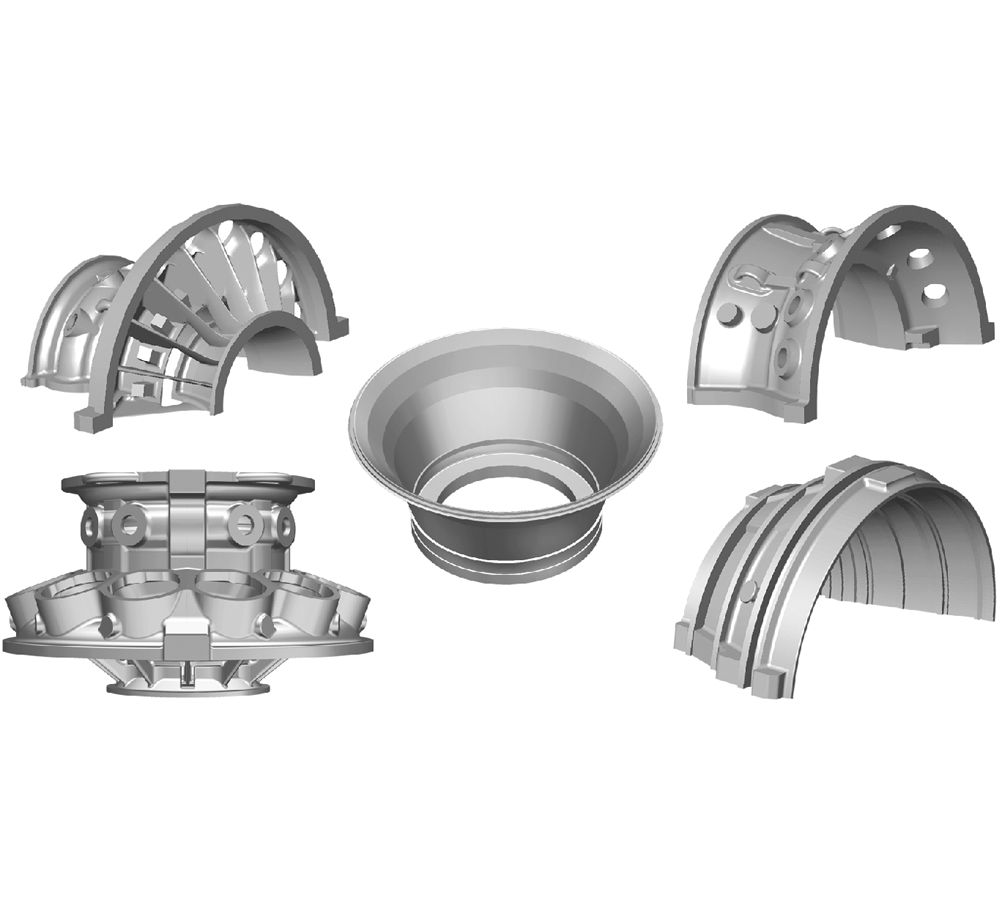
As the world’s energy demand grows, gas turbine, as a highly adaptable, efficient and environmentally friendly generator unit, has become one of the main forms of power generation. The prosperous development of the gas turbine has resulted in the huge market demand for casting. However, the manufacturing technology of the large gas turbine casting has always been a challenge, with only a few international enterprises capable of producing. While many Chinese domestic enterprises have been in the stage of research and development or small batch production.
Recently, a company specialized in the production of the gas turbine casting and other products would like to inspect and obtain the 3D data of the gas turbine casting, and then quickly reverse it into a model, so as to enable their downstream manufacturers to set different amounts of feed in further producing castings according to the machining allowance at different parts.
Solution:
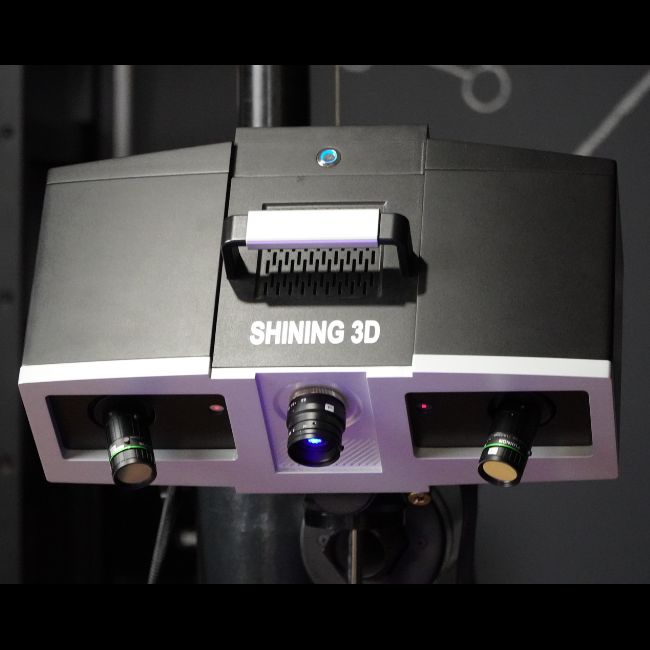
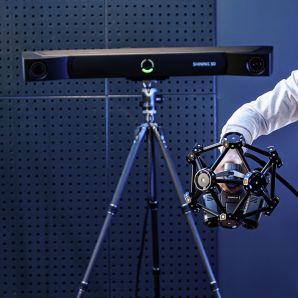
As the gas turbine casting are relatively large, to effectively control the global cumulative error of 3D scanning, SHINING 3D provides the solution combines the DigiMetric ™ photogrammetric system and the FreeScan X7 handheld 3D laser scanner.
Process:
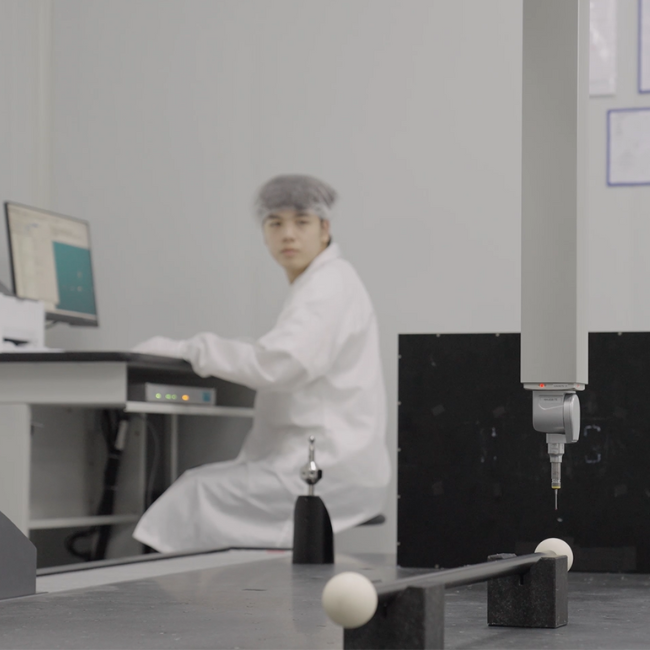
The technician firstly applies the DigiMetric photogrammetric system (whose precision is up to 0.01mm+0.01mm/m) to take photos for the gas turbine casting from multiple angles, and then calculates the 3D coordinate data based on the markers to create a global frame system. The markers and encoded points should be affixed evenly on the gas turbine casting, while maintaining appropriate spacing. Markers are used for data alignment of the 3D scanner.
Apply the DigiMetric photogrammetric system to take multiple sets of photos from all the positions and angles, with a proper distance between the camera and the casting.
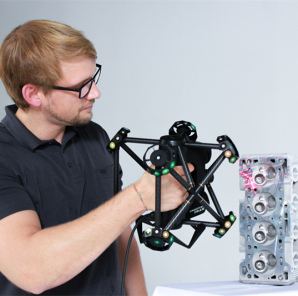
Import all the photos into the computer through DigiMetric software in order to obtain coordinate information of all markers, and then export them in DGM format. Use the FreeScan X7 to scan the entire gas turbine casting and open the DGM frame exported from DigiMetric at the same time to effectively control the overall error of casting.
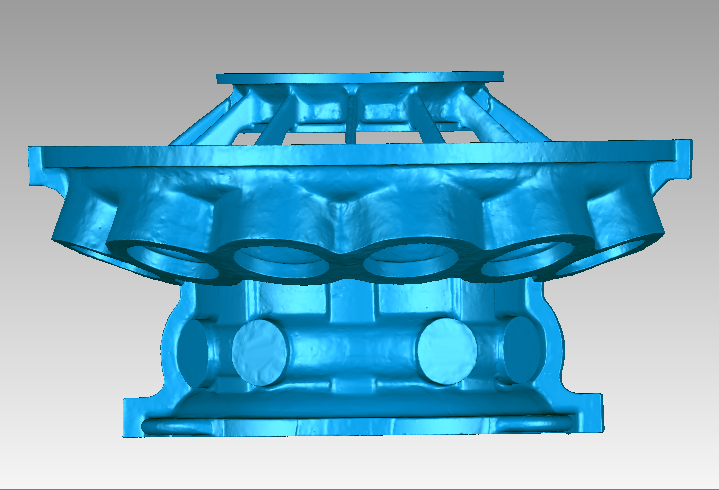
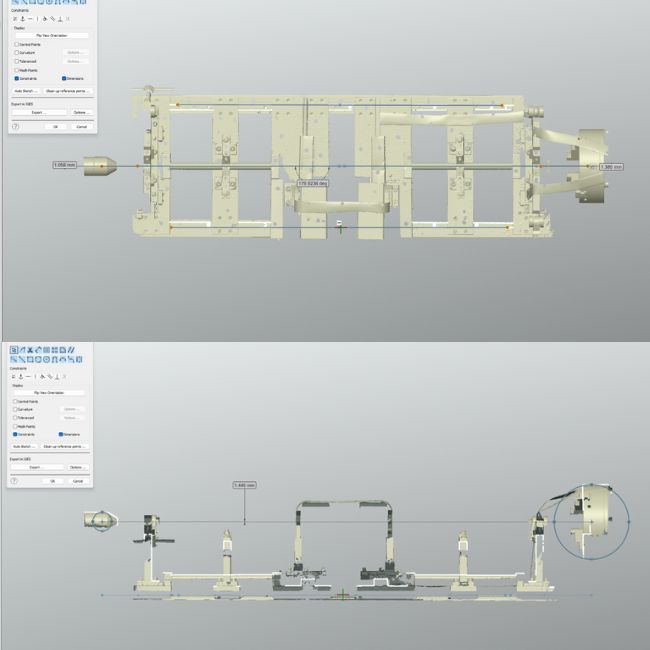
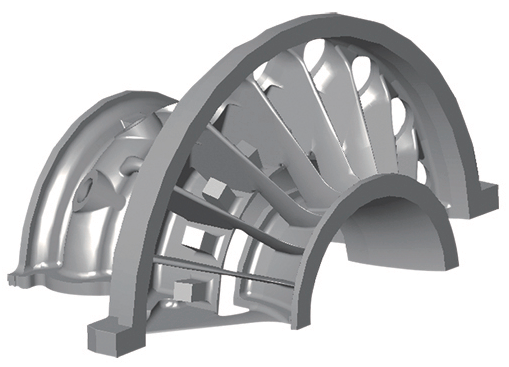
Import the scanned data directly into the Geomagic Control software, as well as the designed CAD digital model. Align the 3D pointcloud to the CAD digital model. Deviations are annotated by the 3D comparison creation method. The annotations indicate the normal deviation of the distance between the position of scanning data and the position of CAD digital model, with the green area being the qualified area, the warm tone area being the positive out-of-tolerance area, and the cool tone area being the negative out-of-tolerance area.
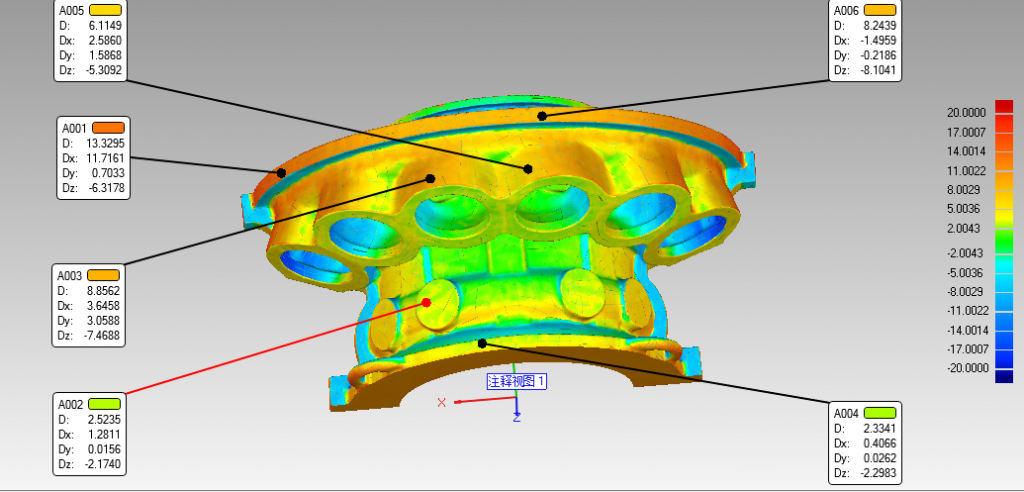
The user was satisfied with the scanned data from the DigiMetric photogrammetric system and the FreeScan X7 3D scanner. By utilizing the 3D data obtained by scanning, the user can quickly reverse the model and use it to analyze the finishing allowance required by different parts, in this way, the precision of the processing flow can be set up, which can greatly reduce the processing time cost and improve working efficiency.













 ENG
ENG


