


 ENG
ENG


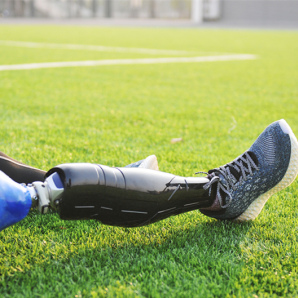
Background: My daughter is in an activity called “Colorguard” and is applying to be a captain for next season. One of the requirements for the application is to do something for the betterment of the colorguard team. She chose to build a roller cart for a heavy loud speaker their team uses to play the music during practices and performances.

Primary Problem: How to build a cart that will keep the speaker stable during transport while still allowing the speaker to be removed easily and without modifying the speaker.
Secondary Problem: How to replace a lost handle from the speaker.
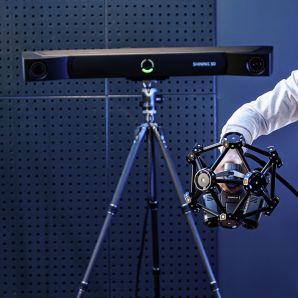
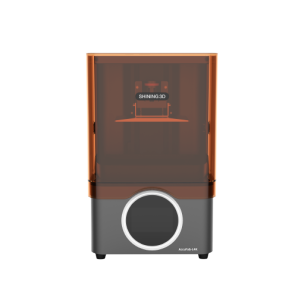
Solution to Secondary Problem: The secondary problem was a bit easier to tackle than the primary problem so, of course, I went after that first. The speaker comes with three identical handles that are mounted with screws. I was able to remove one of the remaining two handles and use our EinScan-SP 3D scanner to capture the handle.

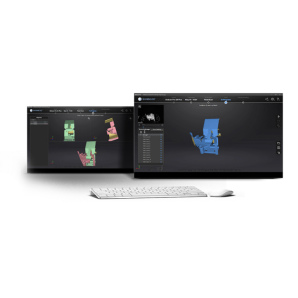
Since the handle was very dark, I powdered it with a thin layer of baby powder so the scanner would be able to pick up the surfaces. The EinScan-SP has a great feature that it automatically align each scan as it turns on the turntable. It will also automatically align multiple scans of the object in different positions. The software will pick up non-linear points of geometry from multiple scans and align them to each other. This allows users to capture not only the sides, but also the top and bottom of an object.
I was also able to use the editing functions of the software to remove any background artifacts out of the scan before meshing it into a watertight STL.
Clean Up and Customization: After exporting the scan to a watertight STL, I still had a few things to do. The handle had some wear and tear on it and had some of the rubber padding torn off or hanging from the handle. I used Meshmixer (www.meshmixer.com) from Autodesk, a free utility, to import the STL and clean up the uneven surfaces caused by the wear and tear on the handle. I was able to use the Deform: Smooth tool after selecting the rough areas with selection brush in Meshmixer.

My daughter also wanted to customize the label that was printed on the handle so I used the Edit:Erase and Fill tool to remove the embedded text and create a flat surface. I also used Meshmixer to clean up the screw holes to make sure they were cylindrical.
After making those edits on the handle, I exported the mesh as an STL file from Meshmixer. The file came out very large at 26 MB. I used another free utility software called Meshlab (www.meshlab.net), to reduce the size of the STL by decimating the redundant polygons (Filters: Remeshing, Simplification, and Reconstruction:Simplification Quadric Edge Collapse Decimation). This sounds like a lot of work, but the software does all the work for you. I was able to re-export the mesh from Meshlab at a manageable 2.4 MB from the original Meshmixer file of 26 MB.

Meshlab has a ton of functions for working with meshes such as scan data from 3D scanners. Meshmixer and Meshlab are invaluable tools for people using 3D scanners.
To embed new text into the handle, I chose to use a simple and free CAD program called Tinkercad (www.tinkercad) from Autodesk. I imported the reduced-file-size STL into Tinkercad and aligned a plane onto the surface I wanted to embed the text then used the Text and Numbers feature in Tinkercad to type in my text and used the Hole function to cut the text into the model as I lowered it in. I then selected both the text and the mesh and merged them together. I exported the new mesh for 3D printing.

To 3D print the handle, I used the new Afinia H+1 3D printer and Cheetah flexible filament from NinjaTek.
I used a higher density infill of 80% and utilized the H+1’s TPU extruder for flexible filaments. The higher density infill gave more rigidity to the handle while still making it soft to the touch for comfortable handling.
Here is the result of the replacement handle:

Now onto the primary portion of the project: how to build a cart for the speaker.
My daughter told me she wanted to make a durable cart that would hold the speaker safely, but still allow the speaker to be easily removed from the cart. We took a look around the speaker and came up with an idea to use the speaker mount as our mounting point onto the cart.
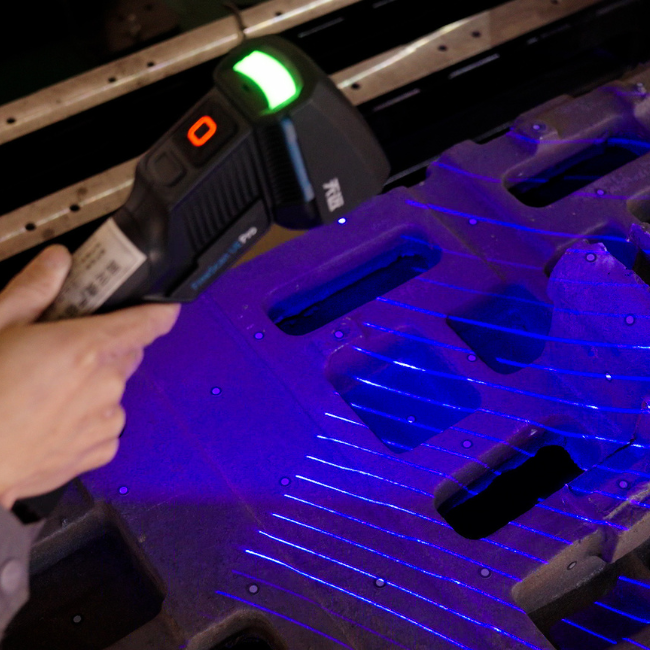
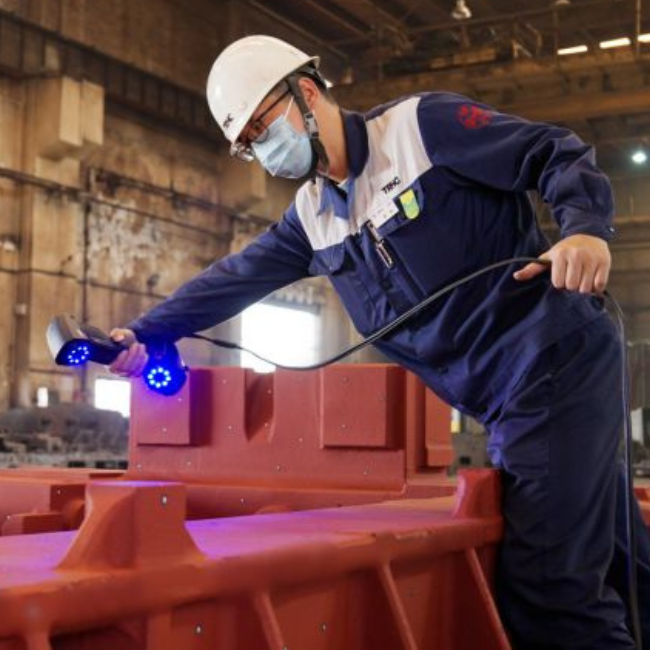
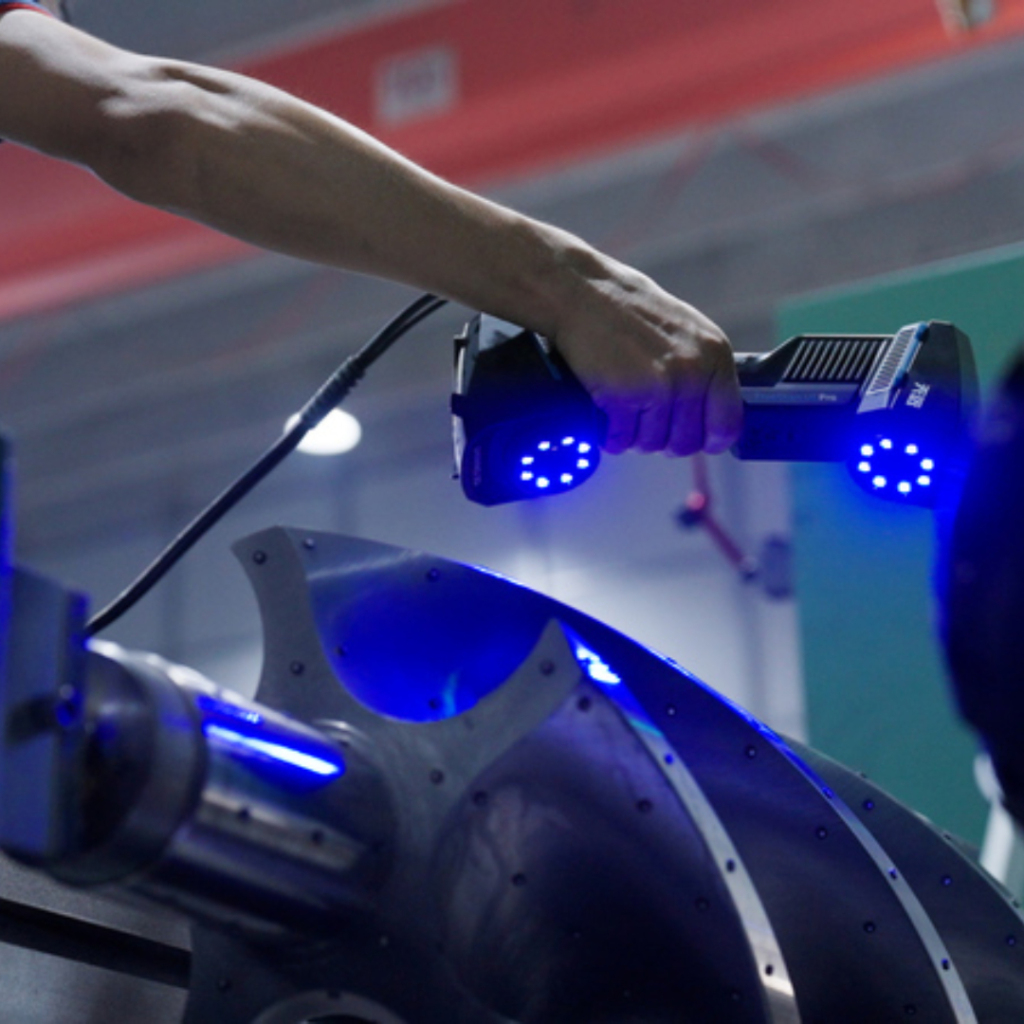
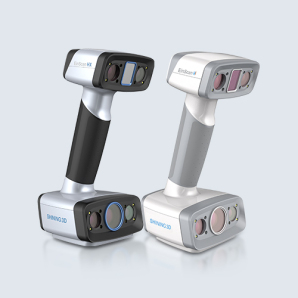
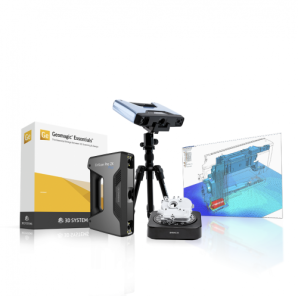
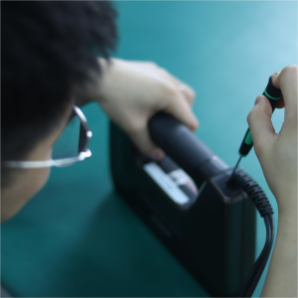
As I looked at the area, I noticed a lot of indented planes, vertical walls, angled walls and a cylinder for the mounting pipe. We could have spent quite a bit of time with a calipers trying to get the critical dimensions, but why do that when you have a handheld 3D scanner? We used the EinScan Pro 2X PLUS from Shining 3D.

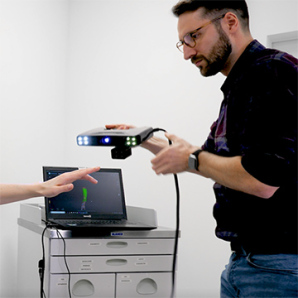
With this handheld scanner, we were able to move the scanner over the cavity in the speaker and capture many of the flat areas. We first applied target markers to allow us to use HD capture of the surface area.

We then used the EinScan Pro 2X PLUS with its EXSCAN PRO software to capture the critical surface areas. After a small bit of clean up, we exported the mesh as a non-watertight STL file as we were only capturing the top surface area and not the whole speaker.
The EinScan Pro 2X PLUS does come with Solid Edge software, which is a full CAD package with reverse engineering capabilities, but in this case I chose to use Autodesk Fusion 360 (https://www.autodesk.com/products/fusion-360) as we have many schools and hobbyists that use this software and it does have Mesh importation and reverse engineering capabilities.
I imported the non-watertight STL file into Autodesk Fusion 360 and was able to start getting some measurements and define some planes.
Since I had the scanned mesh body, I could keep it visible while drawing the necessary items to create my model.

And make the mesh model invisible to just see my model without the mesh.

After I was happy with the design of the model and how it fit, virtually, in the mesh model. I went to 3D print. The model was slightly too large to print all in one piece, so I used a very simple function (Modify:Split Body) to break up the model into two pieces for 3D printing.
I used the Afinia H+1 and printed the two bodies in black PLA, being mindful of the print path to enhance strength in the cylinder and walls of the printed model. To give a cylinder the most strength, print it on its side so the print path goes the long way around the cylinder from top to bottom and not just around and around in layered circles. The layers are the weakest point in a print, so take into consideration where the lateral force will come into your model after it is printed and make sure layers are perpendicular to the force direction.
Here are the printed pieces for our project:

Now, we started fitting the pieces into the speaker to see how we did.

Wow! They fit like a glove. No 2nd, 3rd, 4th, etc… revision needed. This is unheard of! All thanks to 3D scanning with the Shining 3D EinScan Pro 2X PLUS.
Here are pictures of the rest of the assembled cart. The frame is made of 1.5” ABS tubing welded together with acetone and the mounting plate is a scrap piece of particle board. All in all, not too shabby for a father and daughter team with the right tools.